|
Supplies Needed:
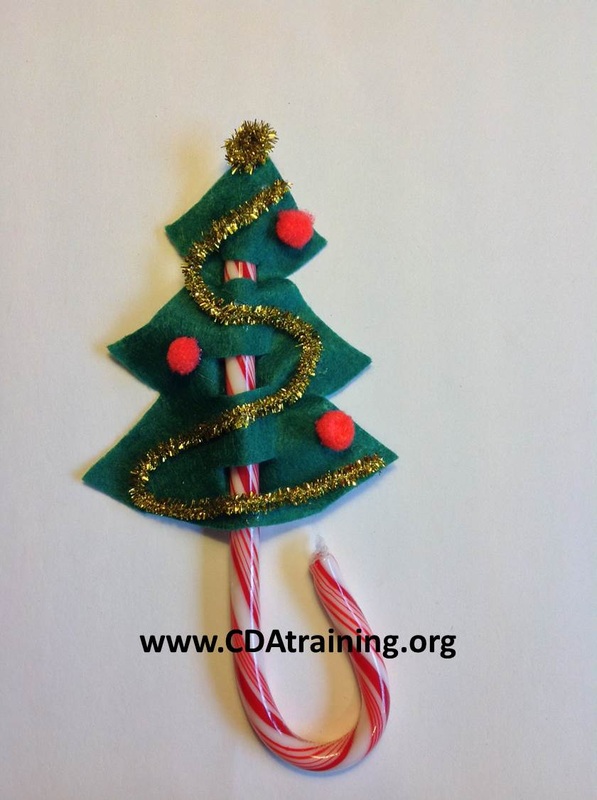
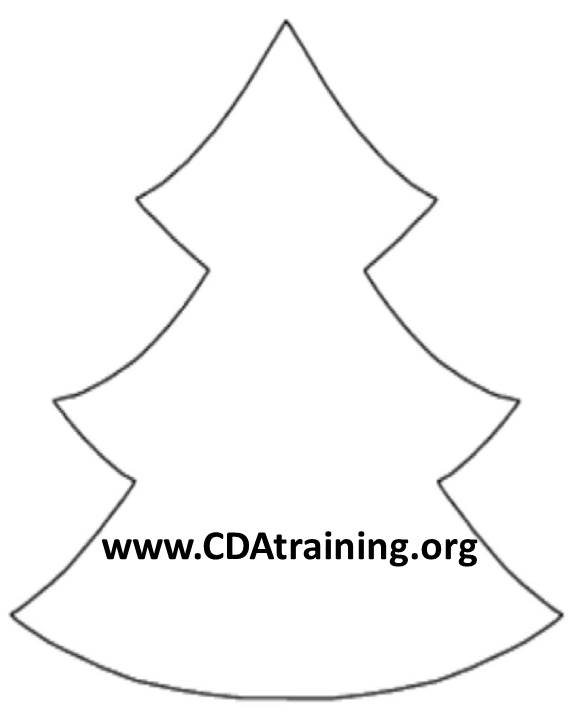
Cut slits where desired for the candy cane to slide through. You want them just big enough for the candy cane. Now it’s time to decorate. Pull out the candy cane and glue on a star and some ornaments. You can use Elmer’s Glue-All or hot glue depending on ages {and speed you want to go!}. Allow time for the glue to dry before inserting the candy cane again. Supplies: 9-inch Paper Plate, Green and Brown Paint, decorations for your tree, Glue, Card Stock or Toilet Paper Tube
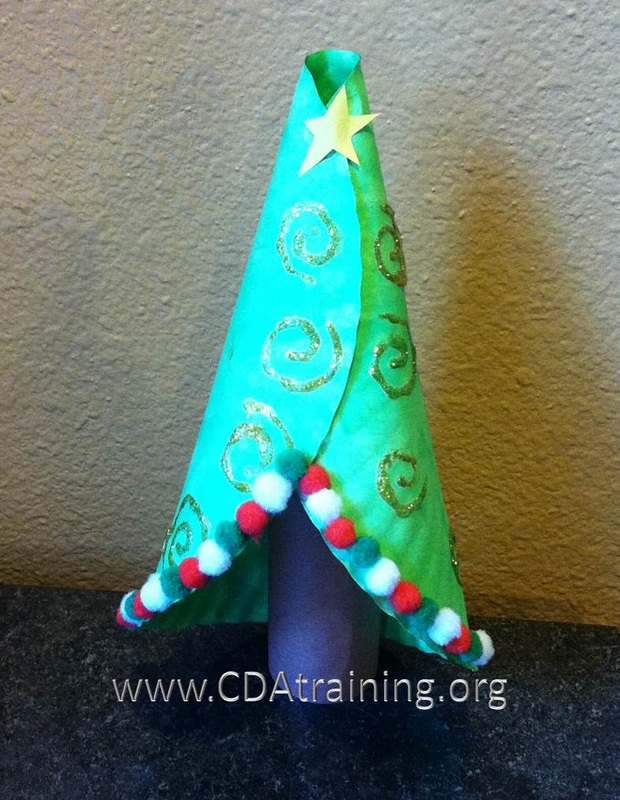
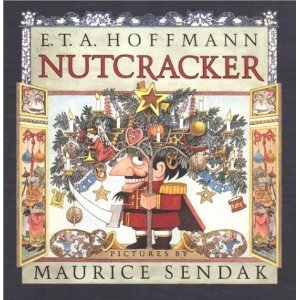
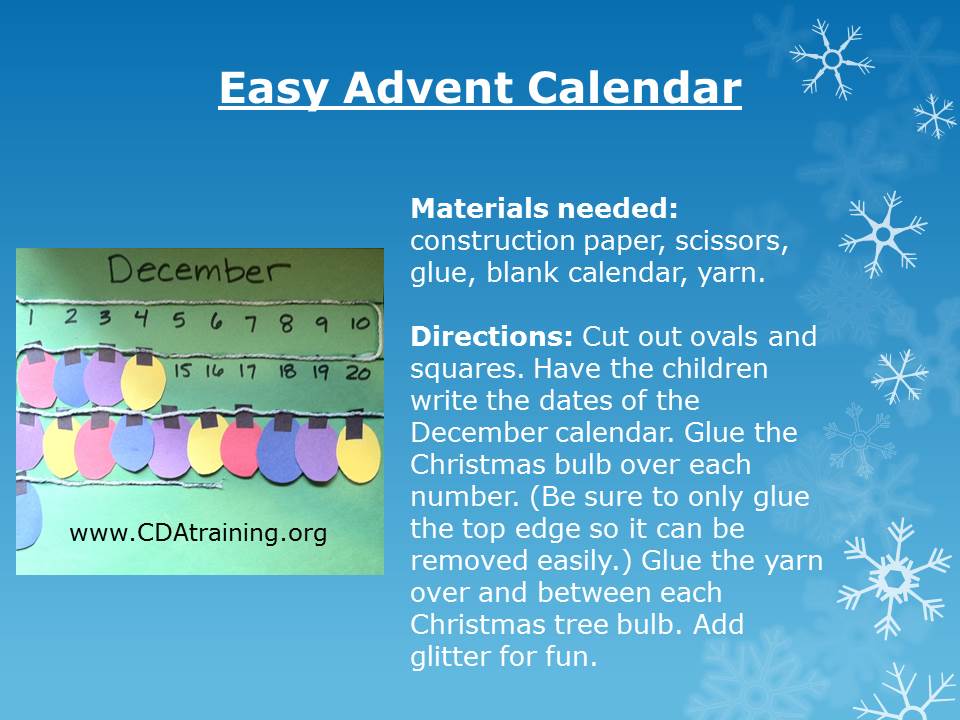
Directions: To make the tree trunk use a toilet paper tube so it is six inches long and paint it brown. If you don't have a paper towel tube, you can use card stock. Cut the card stock so it is 6 inches by 8.5 inches and roll it into a tube and glue the side closed. To make the top of the tree paint a paper plate green and let it dry. Roll the paper plate into a cone shape as shown in the picture above. Glue it closed where it overlaps with a low glue. Glue the "tree trunk" inside the top of the tree. To finish glue sequins, pompoms, glitter, or gems on the tree to decorate. Read: “Nutcracker” by E.T.A. Hoffman, Maurice Sendak, Ralph Manheim Materials needed: construction paper, scissors, glue, blank calendar, yarn.
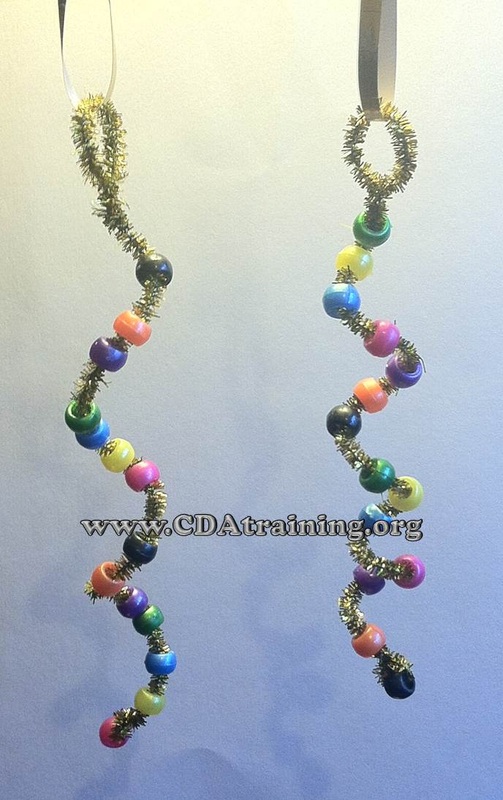
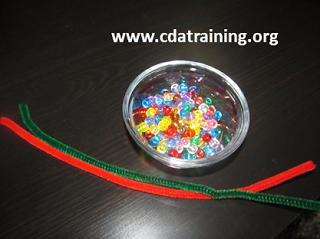
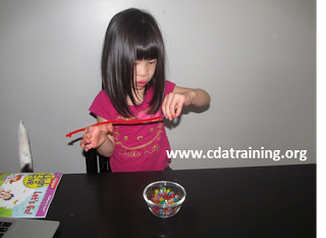
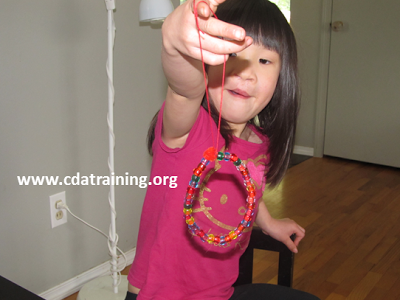
Directions: Cut out ovals and squares. Have the children write the dates of the December calendar. Glue the Christmas bulb over each number. (Be sure to only glue the top edge so it can be removed easily.) Glue the yarn over and between each Christmas tree bulb. Add glitter for fun. These icicles are a wonderful fine motor activity for children, an exercise in hand-eye co-ordination and an opportunity to explore color and patterns. It’s a lovely sensory experience, and often they’ll stop to talk about the particulars of a bead they’ve found: the color, the shape, how shiny it etc., so while this is a very simple Christmas craft, it still presents lots of opportunities for learning. Supplies needed; Metallic pipe cleaners, pony beads, a thread for hanging
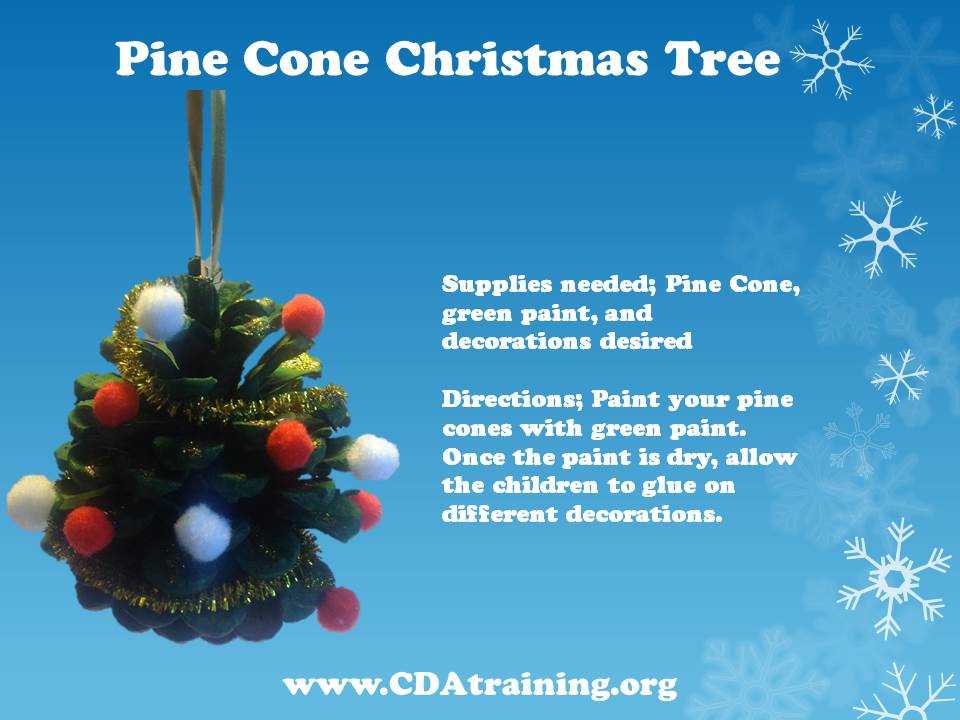
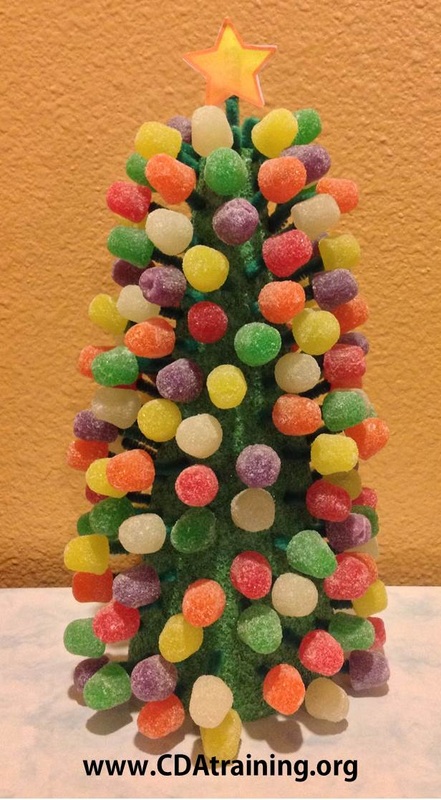
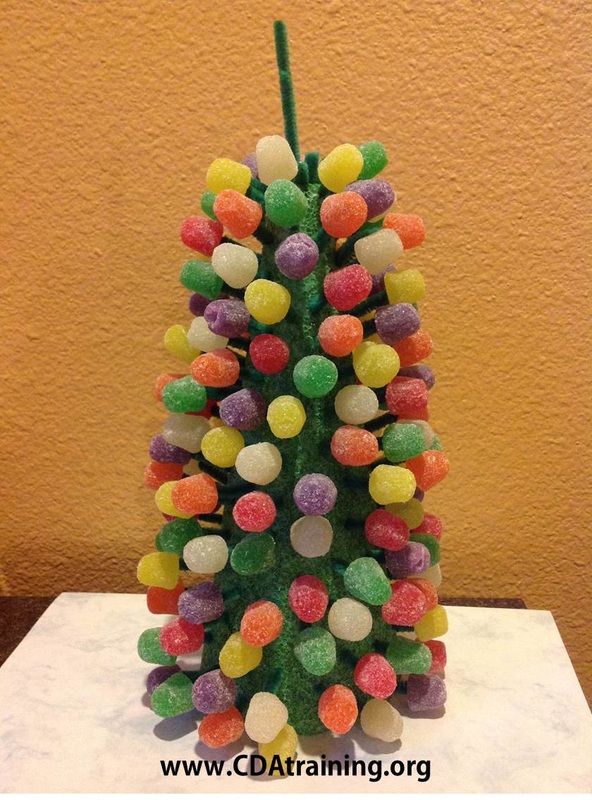
Directions; Twist a loop at the top of the pipe cleaner, this will be used later to tie on the string. Thread as many beads as desired onto the pipe cleaner. Once the pipe cleaner is sufficiently beaded, twist the bottom of the pipe cleaner around the last bead, to prevent the other beads from falling off. Take the beaded pipe cleaner and twist it around a pencil to create a spiral effect. Finally, tie a 4-6" piece of thread through the loop you created in the beginning and hang. Supplies Needed; 1 (8-in.) Green Cone-Shaped Styrofoam Form, 1 Package of Green Chenille Stems (Pipe cleaners), Wire Cutters or Utility Scissors, Dark Green Temper Paint, 1 Package Gum Drops
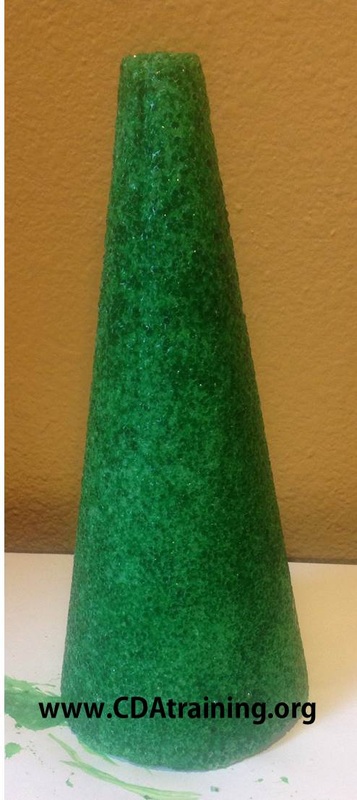
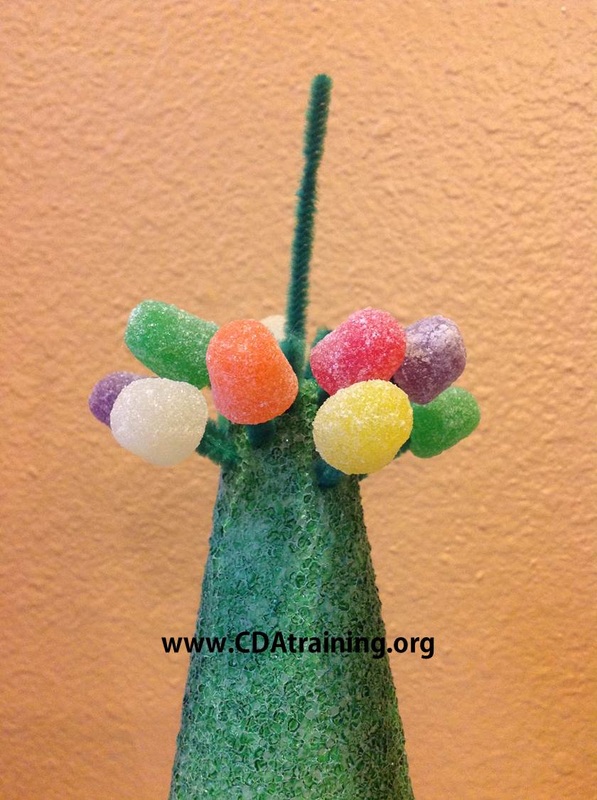
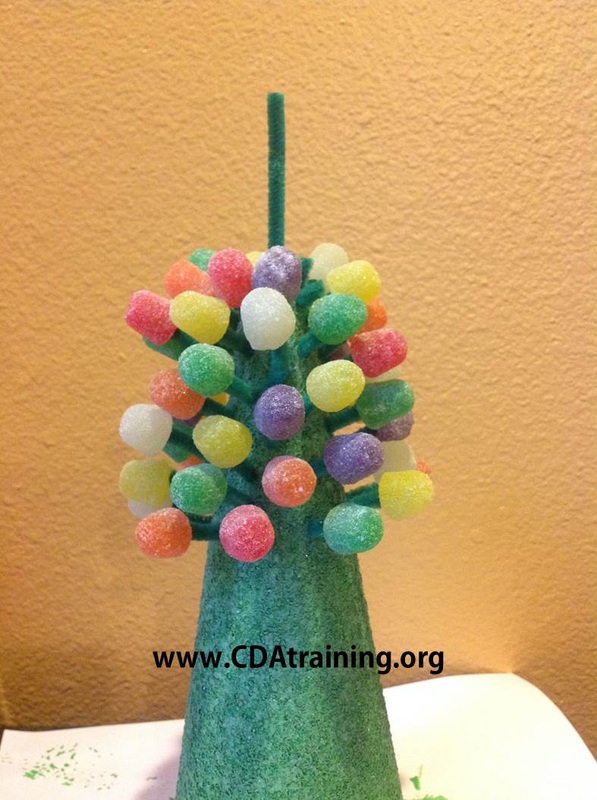
Directions; Begin by painting your styrofoam cone dark green. Cut chenille stems in a variety of lengths. Insert the shorter stem pieces in the top of the form, and increase the stem lengths as you work down toward the base of the cone creating the christmas tree shape. As you work your way down, push different colored gum drops into the chenille stems. Cover the form with the chenille stems and gum drops. You can bend them in any direction you desire since no Christmas tree is perfect. When you are finished, print and cut out the star shape (see below). Place a 3" stem into the top of the tree. Glue the star (sandwich style) to the top stem. Here is what you will need:
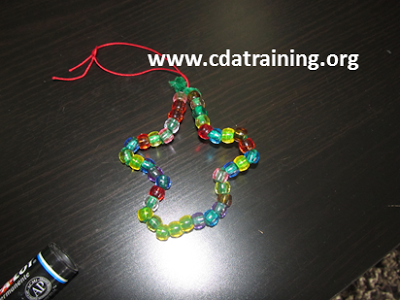
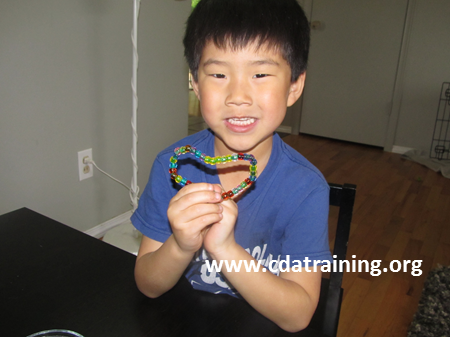
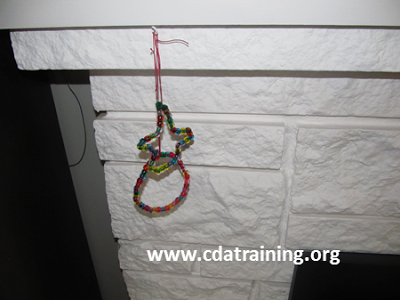
* beads * pipe cleaners * string (for hanging) 1. String your pipe cleaner with beads. 2. Shape it into any shape you want. 3. Tie string around it and hang it up. |
ChristmasArchives
December 2014
Categories
All
|
- Blog
- Online Child Care Courses
-
Seasonal Themes
-
Spring Themes
>
- Air and Space
- Arbor Day
- Birds
- Bunnies
- Cinco De Mayo
- Easter
- Eggs
- Farm
- Father's Day
- Fishing
- Flags of the World
- Flowers and Gardening
- Foster Care Awareness Resources
- Found Art
- Hot Air Balloon
- International Children's Book Day
- Insects
- Kid Friendly April Fools Pranks
- Mother's Day
- National Bed Month
- Rainbows
- Saint Patrick's Day
- Spring
- Sports
- Weather
- Women's History Month
- Worms
- Fall Themes >
- Summer Themes >
-
Winter Themes
>
- Advent
- Black History Month
- Cardiac Health
- Christmas >
- Chinese New Year
- Congenital Heart Defect Awareness Month
- Dental Heath Awareness
- Dr. Martin Luther King Jr. Day
- Dr. Seuss Birthday
- Elf on the Shelf Ideas
- Football - Super Bowl
- Germs and Illness
- Grinch
- Groundhog Day
- Hanukkah
- Hibernation
- Kwanzaa
- National Cookie Day
- New Years
- Olympic Games
- Penguin
- Pets
- Post Office
- Presidents Day
- Sensory
- Snow
- Snowman
- Teddy Bears
- Winter
- Valentines Day
- Valentines Day Cards
- Valentines Day Decorations
-
Spring Themes
>
- All About Babies
- Growing and Learning
- Contact Us
- Online Courses for Early Childhood Educators
We have provided links where books or educational items that are related to the lesson plan can be purchased on Amazon. These links are intended for the purpose of your convenience to find the referenced item. However, as an Amazon Associate we earn from qualifying purchases that result from clicking on the links.
This website is owned and managed by Successful Solutions Professional Development LLC. Links to online courses that can be purchased are services that are provided by Successful Solutions Training in Child Development, which is a subsidiary of Successful Solutions Professional Development LLC.
This website is owned and managed by Successful Solutions Professional Development LLC. Links to online courses that can be purchased are services that are provided by Successful Solutions Training in Child Development, which is a subsidiary of Successful Solutions Professional Development LLC.
We offer the most comprehensive student support available in a web based learning environment.
E-mail: [email protected]
Phone: (360) 602-0960
Phone: (360) 602-0960
123 Play-and-Learn! Child Care Basics Resources
A child care curriculum blog brought to you by Successful Solutions Training in Child Development.
A child care curriculum blog brought to you by Successful Solutions Training in Child Development.
Address: PO Box 727, Burley, WA 98322-0727 * www.123playandlearn.com
Copyright 2018. Successful Solutions Professional Development LLC. * All Rights Reserved. Updated June 27, 2018
Copyright 2018. Successful Solutions Professional Development LLC. * All Rights Reserved. Updated June 27, 2018


 RSS Feed
