|
Read: “Nutcracker” by E.T.A. Hoffman, Maurice Sendak, Ralph Manheim 
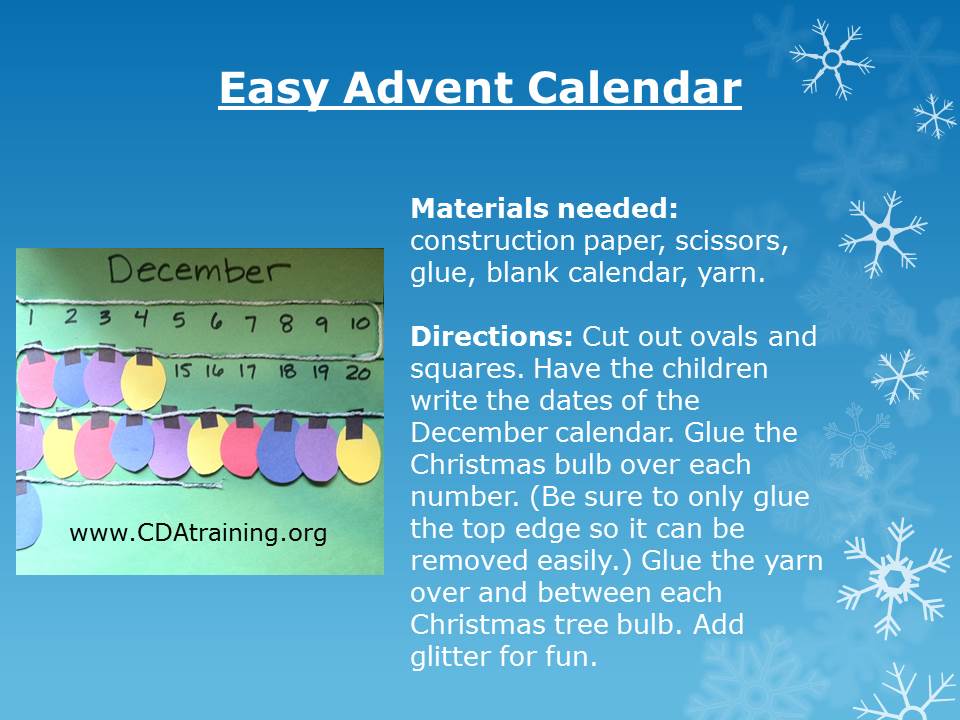
Materials needed: construction paper, scissors, glue, blank calendar, yarn.
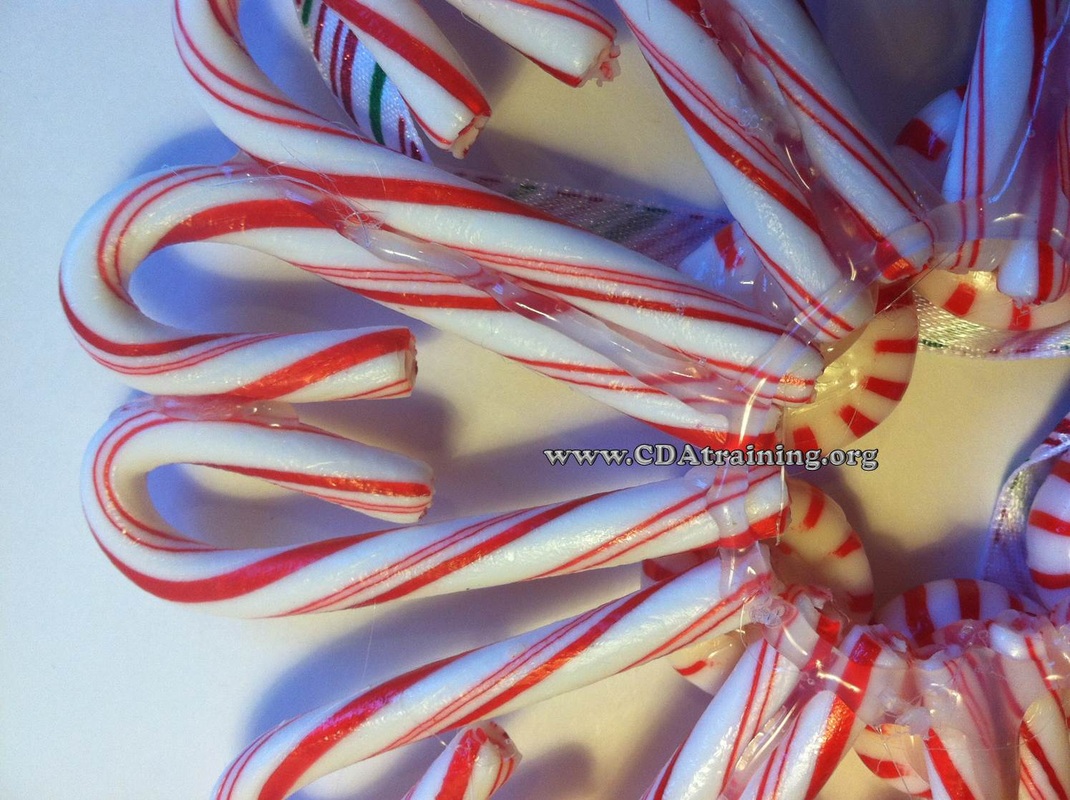
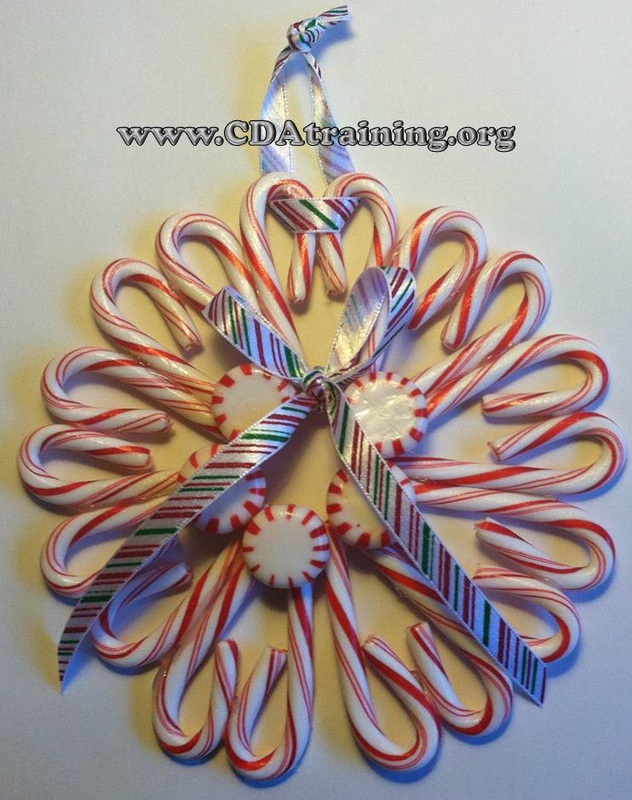
Directions: Cut out ovals and squares. Have the children write the dates of the December calendar. Glue the Christmas bulb over each number. (Be sure to only glue the top edge so it can be removed easily.) Glue the yarn over and between each Christmas tree bulb. Add glitter for fun. 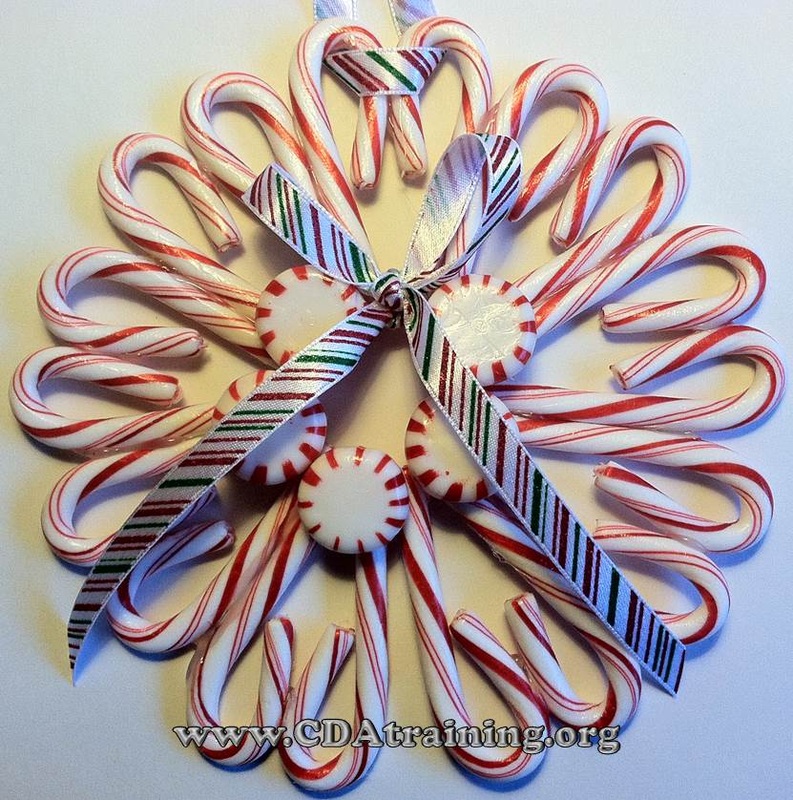 This is a fun and creative project to do with older school-age children, as a gift to share with co-workers, or families. Use caution when handling the glue-gun, and keep it out of reach of young children. Supplies need; Candy canes (we used 18 small, but large will work too, just be sure to lay out your candy canes to figure out how many you will need), "starlight mints", festive ribbon, glue gun or modgepodge. Directions; Glue your candy canes into heart shapes, as seen below, with a little glue at the crook and a little at the base where the ends meet. Once you have all the heart shapes you will need to create a circle, start gluing them together at the sides. When you have completed the entire circle, allow it to dry. Once dry, reinforce the back with extra glue. After the reinforcement is dry, turn the wreath back over and glue the "starlight mints" to the base of each of your heart shapes, or as many as your inner area will allow. Take about 10" of ribbon and tie it into a bow. Glue the bow where you think it would look best for your wreath. Finally take another 4" inches of ribbon and tie it into a loop. Slip the loop over two of the crooks in your wreath and you are finished. *If you remove your candy canes from their plastic coating, you may want to spray them with shellac when you are finished.
These icicles are a wonderful fine motor activity for children, an exercise in hand-eye co-ordination and an opportunity to explore color and patterns. It’s a lovely sensory experience, and often they’ll stop to talk about the particulars of a bead they’ve found: the color, the shape, how shiny it etc., so while this is a very simple Christmas craft, it still presents lots of opportunities for learning. 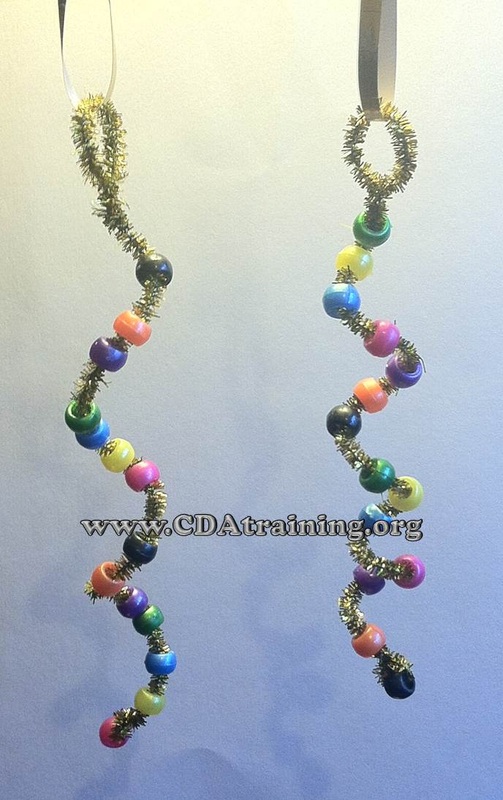
Supplies needed; Metallic pipe cleaners, pony beads, a thread for hanging
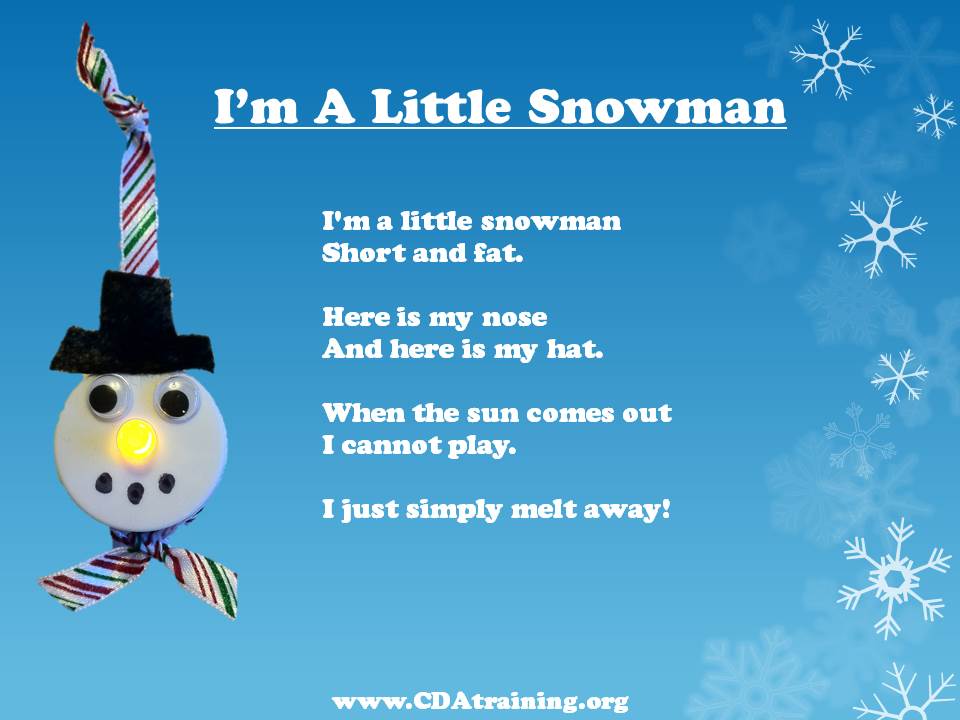
Directions; Twist a loop at the top of the pipe cleaner, this will be used later to tie on the string. Thread as many beads as desired onto the pipe cleaner. Once the pipe cleaner is sufficiently beaded, twist the bottom of the pipe cleaner around the last bead, to prevent the other beads from falling off. Take the beaded pipe cleaner and twist it around a pencil to create a spiral effect. Finally, tie a 4-6" piece of thread through the loop you created in the beginning and hang. 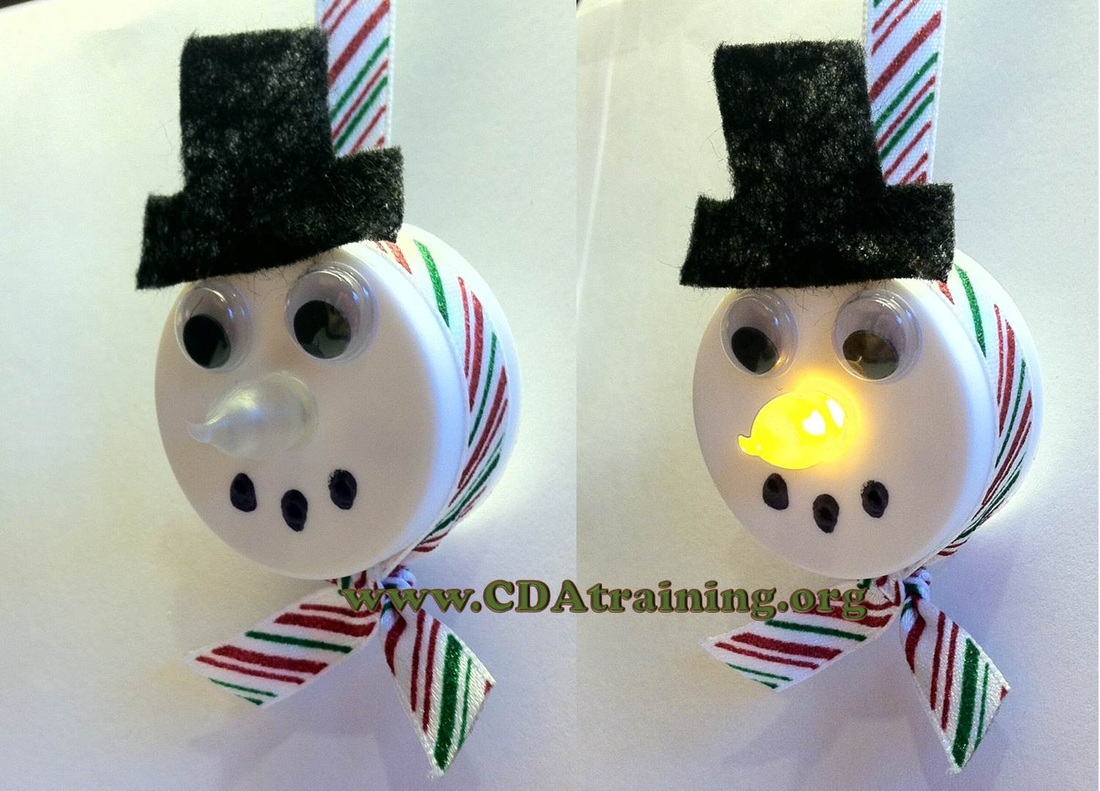 Supplies Needed; Batter operated tea light, holiday ribbon, black felt, 2 wiggly eyes, sharpie pen, and a glue gun.
Directions; Use sharpie pen to draw black dots (for mouth) on tea light. Use glue gun to attach wiggly eyes. take black felt and cut a hat shape, and attach it to the top of the tea light. take about 4" of ribbon and tie it around the tea light tie it in a knot to hold it in place. Finally, take about 8" of ribbon and tie it in a loop. glue the loop to the back of the tea light, be sure to not obstruct the "on/off" switch. 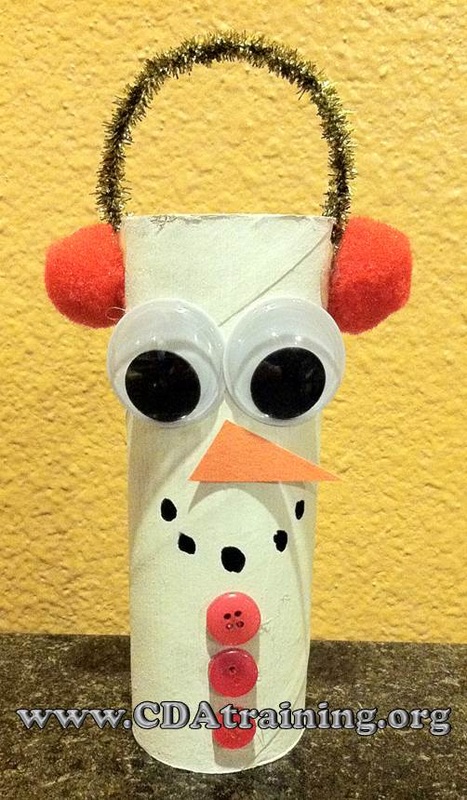
Supplies Needed; Empty toilet paper roll, pipe cleaner, 2 pompoms, 3 small buttons, orange construction paper, 2 wiggly eyes, white paint, black pen, and a hole punch.
Directions; Start with a toilet paper roll, paint it with white paint. Hole-punch a hole near the top on either side of the tube. String a pipe cleaner through to make the band of the earmuffs. Then glue on the pompoms to each side (covering the holes). Add buttons, wiggly eye, a paper carrot nose and draw on the smile with a black pen.
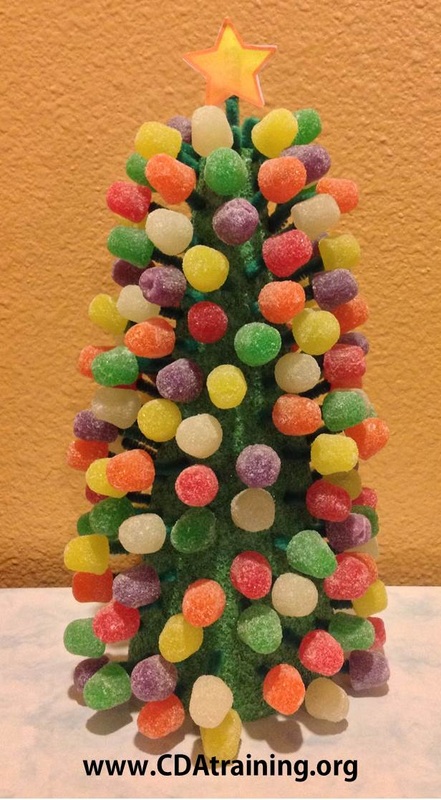
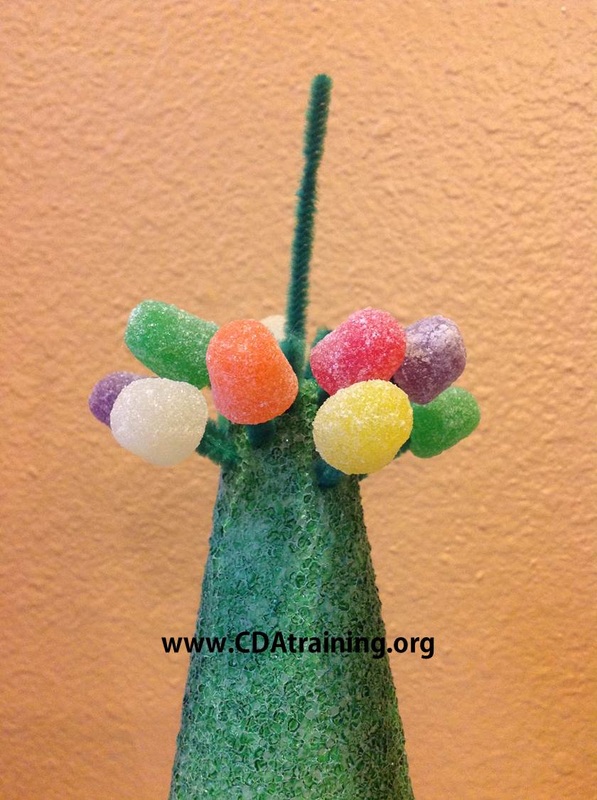
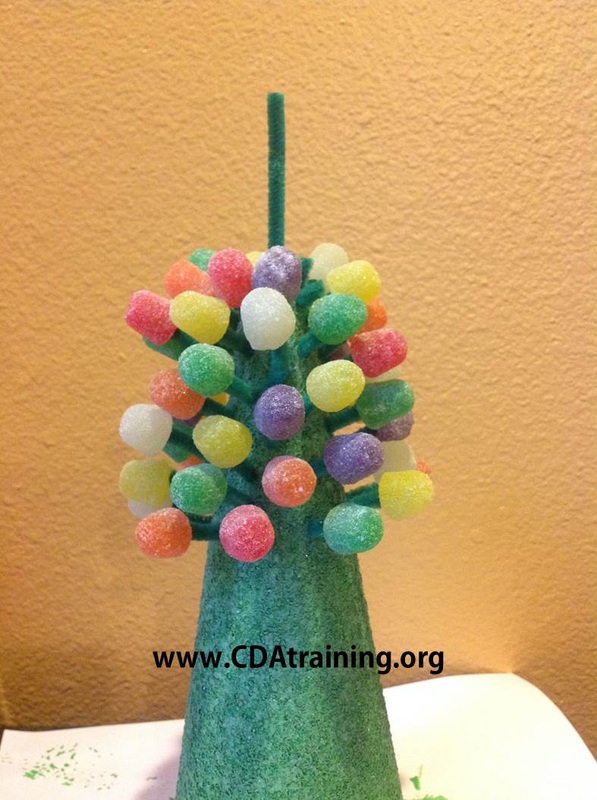
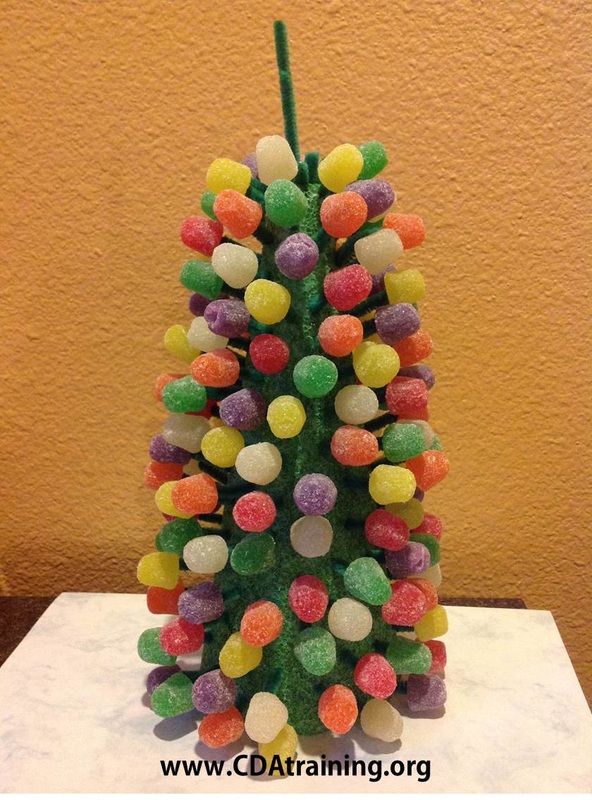
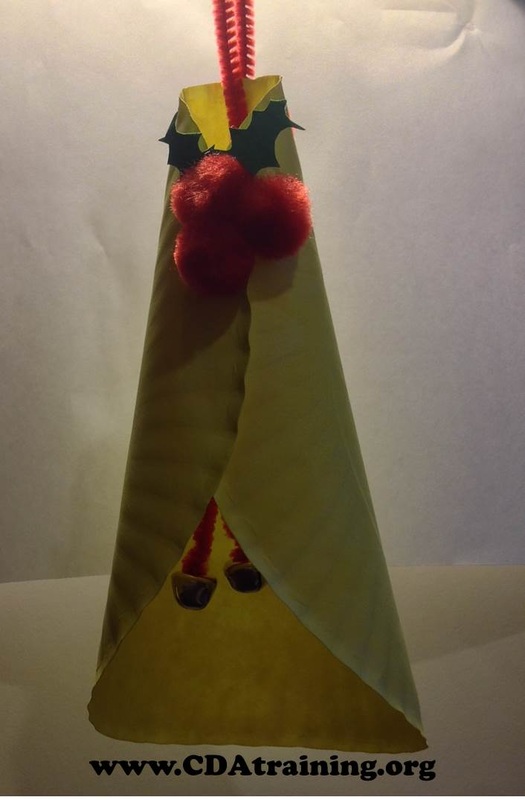
Supplies Needed; 1 (8-in.) Green Cone-Shaped Styrofoam Form, 1 Package of Green Chenille Stems (Pipe cleaners), Wire Cutters or Utility Scissors, Dark Green Temper Paint, 1 Package Gum Drops Directions; Begin by painting your styrofoam cone dark green. Cut chenille stems in a variety of lengths. Insert the shorter stem pieces in the top of the form, and increase the stem lengths as you work down toward the base of the cone creating the christmas tree shape. As you work your way down, push different colored gum drops into the chenille stems. Cover the form with the chenille stems and gum drops. You can bend them in any direction you desire since no Christmas tree is perfect. When you are finished, print and cut out the star shape (see below). Place a 3" stem into the top of the tree. Glue the star (sandwich style) to the top stem. 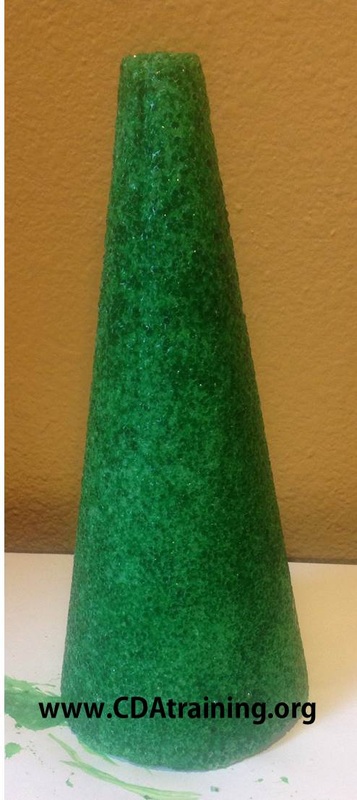

|

ChristmasArchives
December 2014
Categories
All
|

 RSS Feed
We have provided links where books or educational items that are related to the lesson plan can be purchased on Amazon. These links are intended for the purpose of your convenience to find the referenced item. However, as an Amazon Associate we earn from qualifying purchases that result from clicking on the links.
This website is owned and managed by Successful Solutions Professional Development LLC. Links to online courses that can be purchased are services that are provided by Successful Solutions Training in Child Development, which is a subsidiary of Successful Solutions Professional Development LLC.
This website is owned and managed by Successful Solutions Professional Development LLC. Links to online courses that can be purchased are services that are provided by Successful Solutions Training in Child Development, which is a subsidiary of Successful Solutions Professional Development LLC.
We offer the most comprehensive student support available in a web based learning environment.
E-mail: [email protected]
Phone: (360) 602-0960
Phone: (360) 602-0960
123 Play-and-Learn! Child Care Basics Resources
A child care curriculum blog brought to you by Successful Solutions Training in Child Development.
A child care curriculum blog brought to you by Successful Solutions Training in Child Development.
Address: PO Box 727, Burley, WA 98322-0727 * www.123playandlearn.com
Copyright 2018. Successful Solutions Professional Development LLC. * All Rights Reserved. Updated June 27, 2018
Copyright 2018. Successful Solutions Professional Development LLC. * All Rights Reserved. Updated June 27, 2018

Child Care Courses