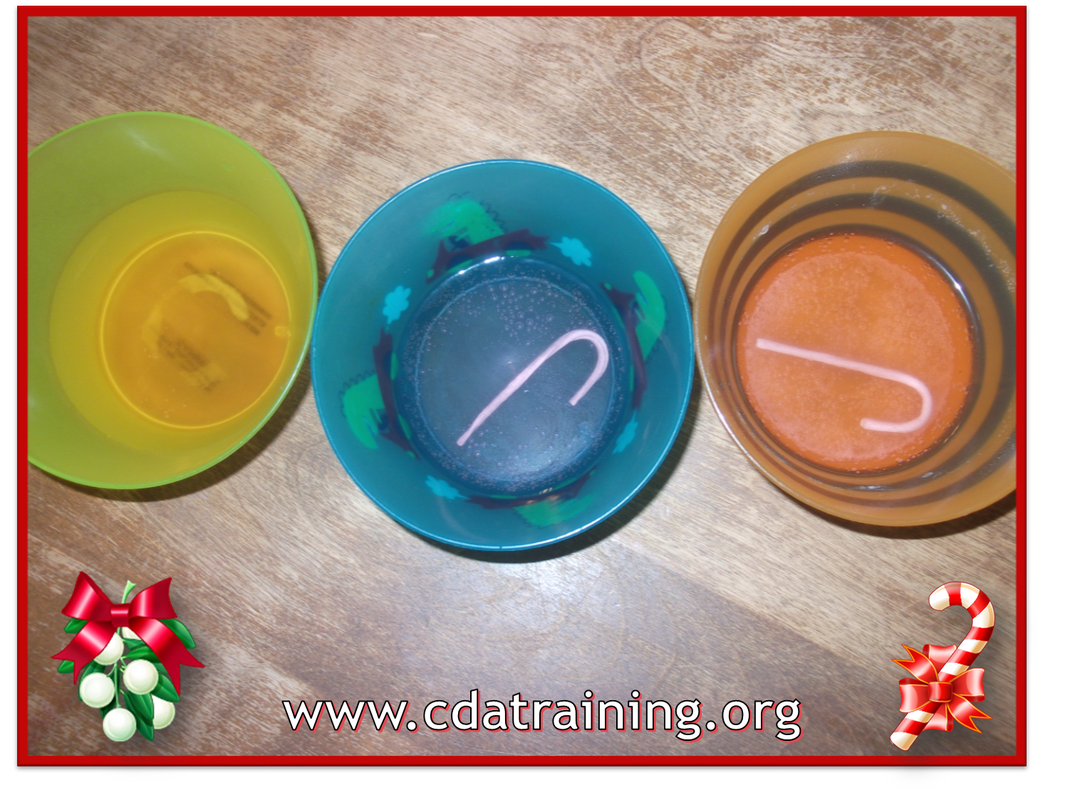
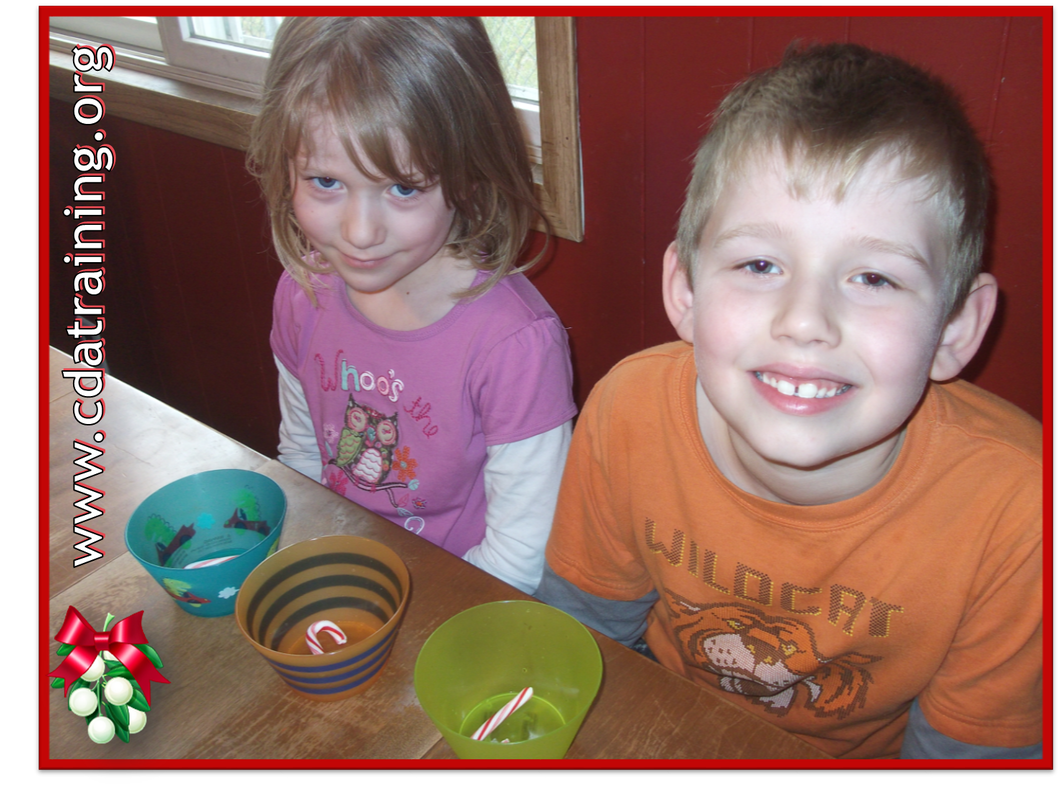
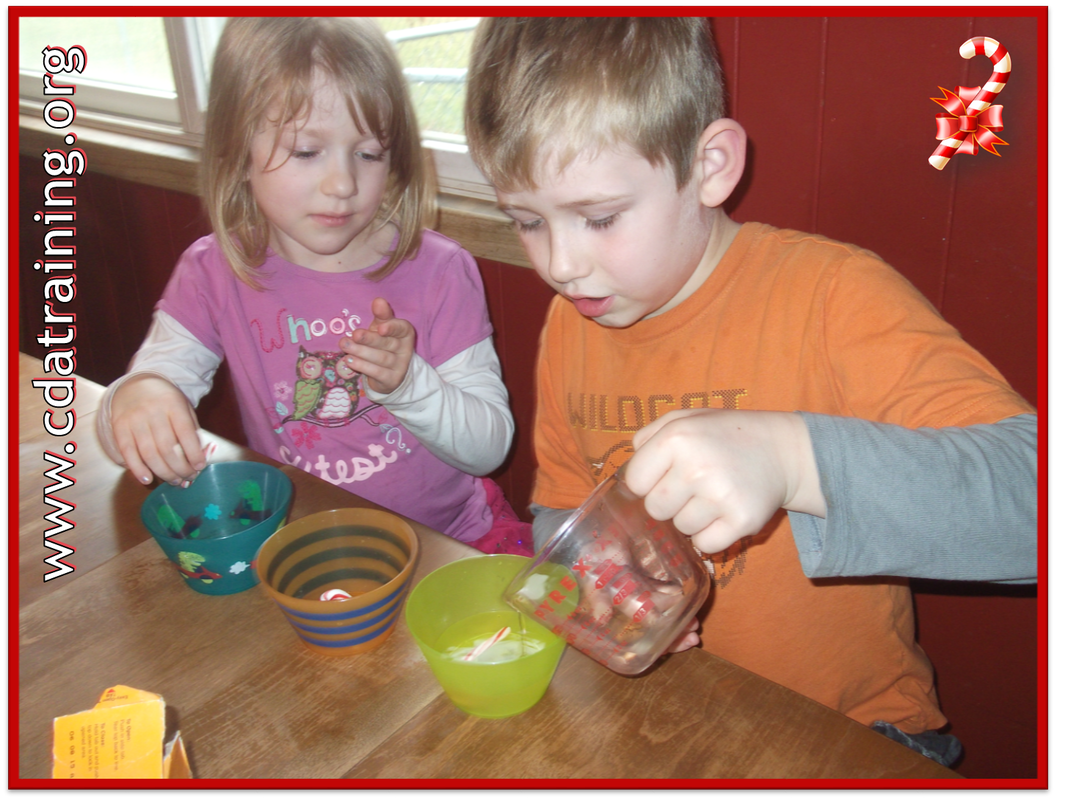
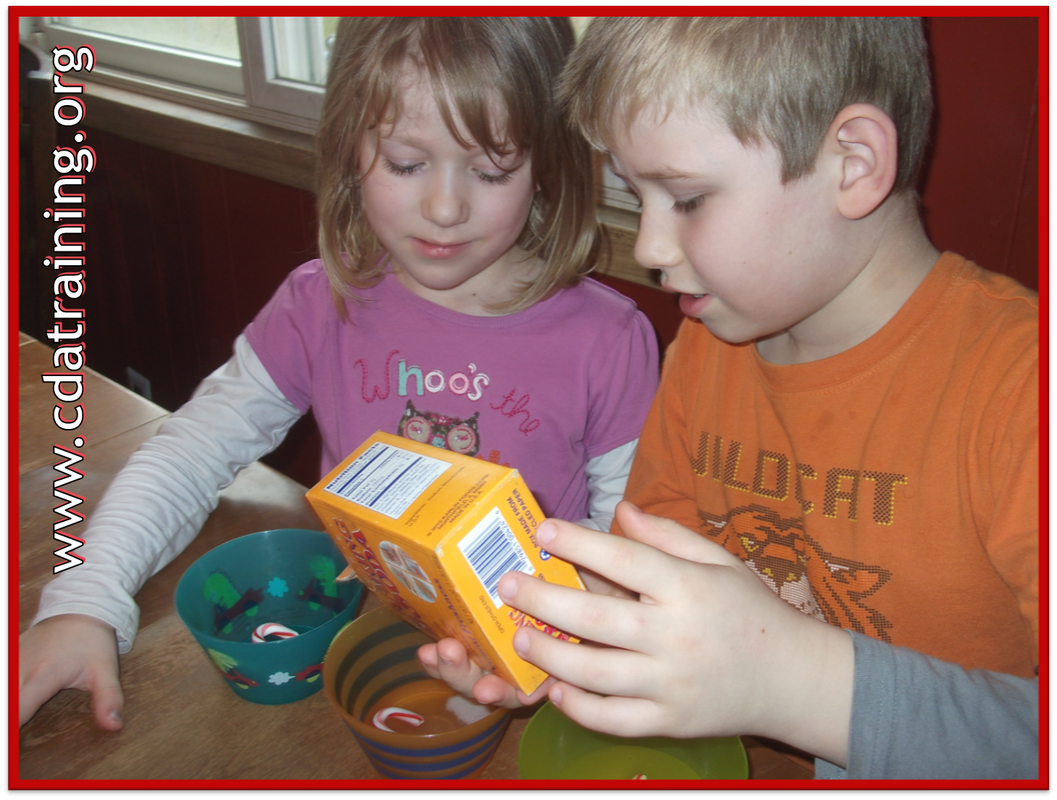
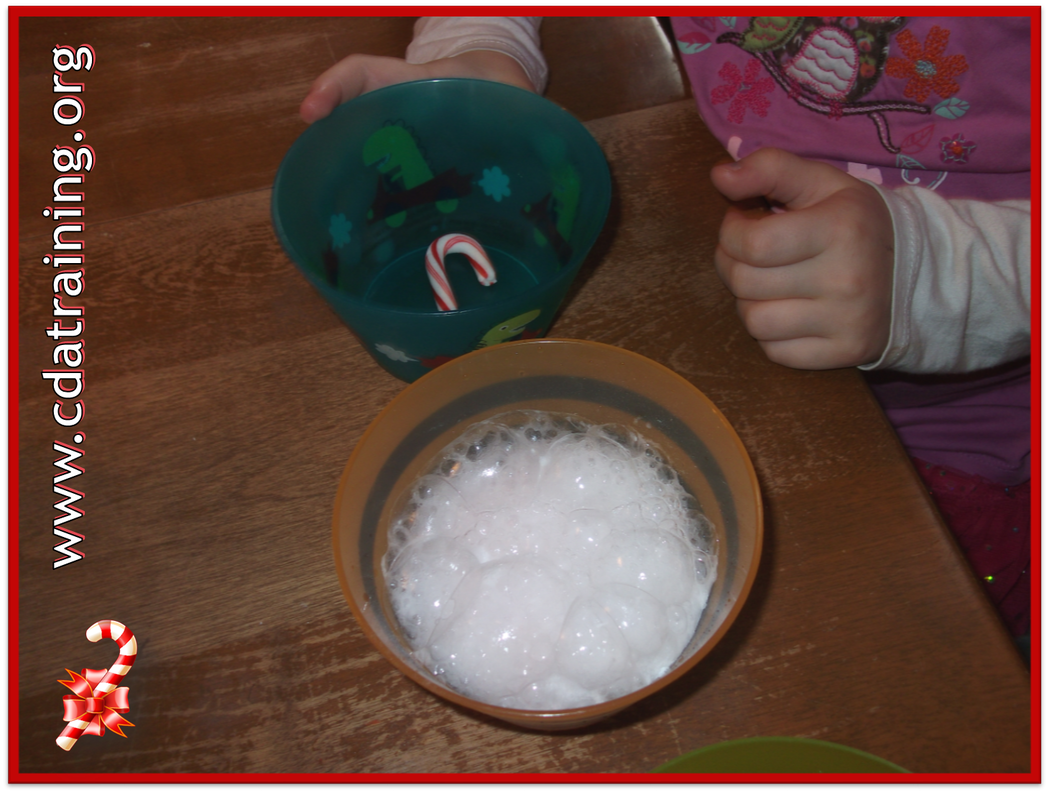
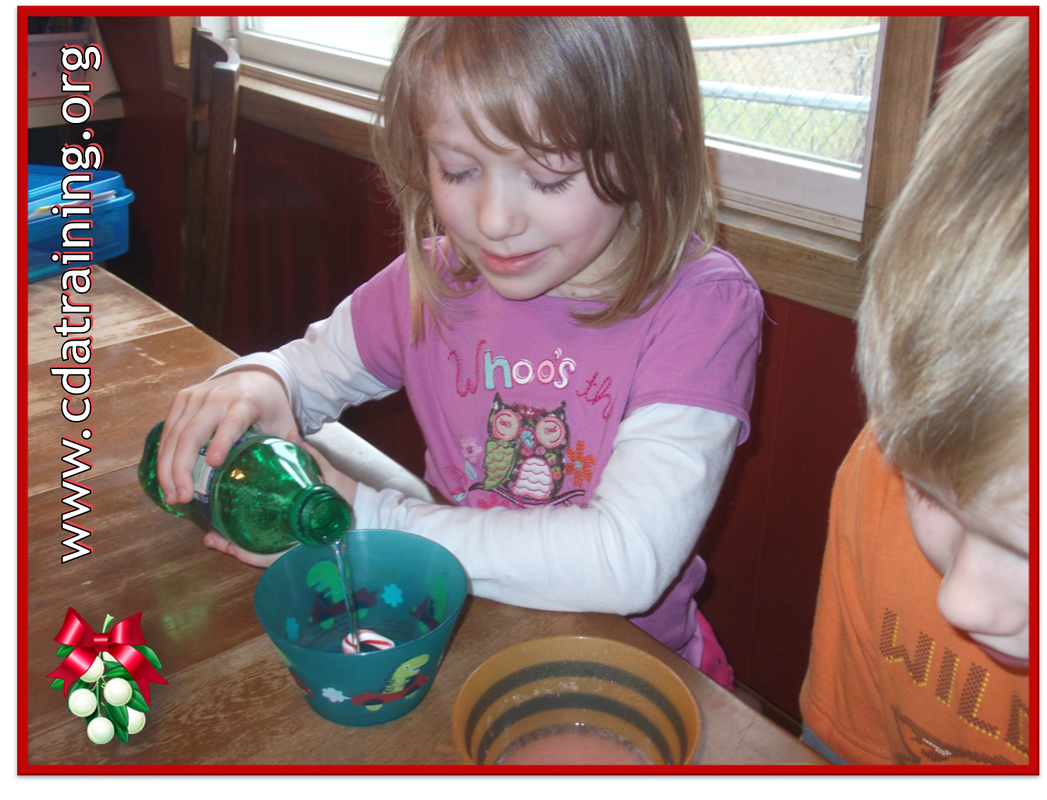
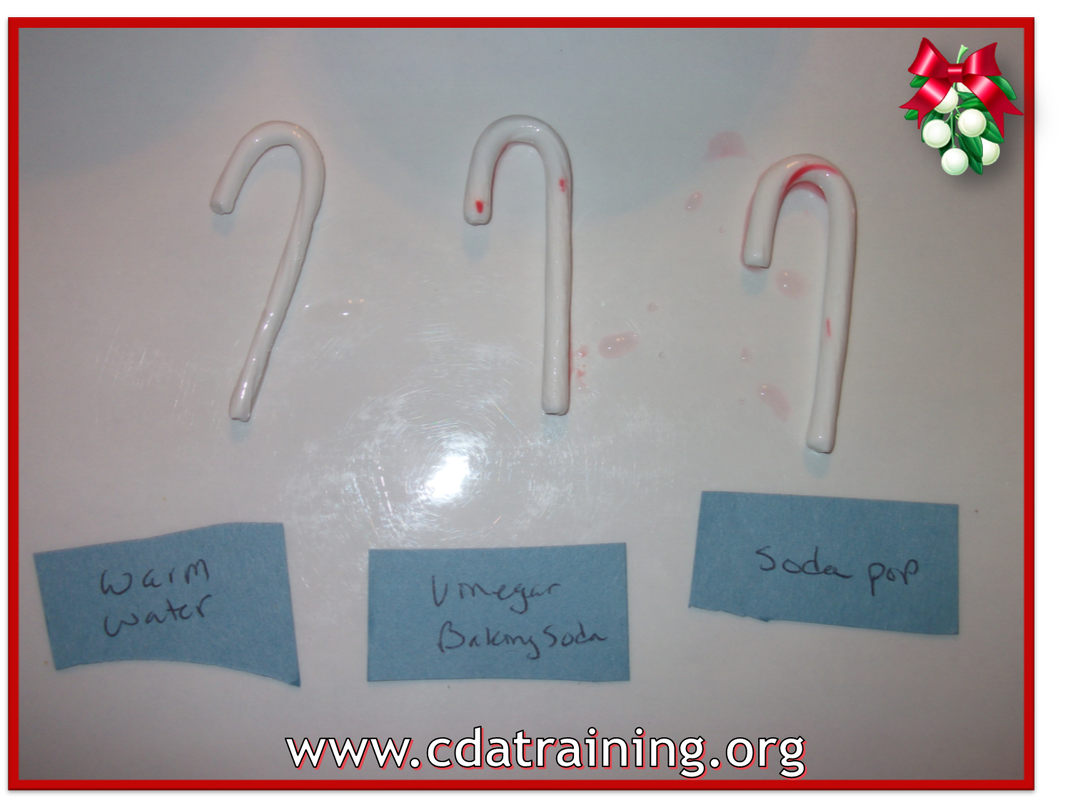
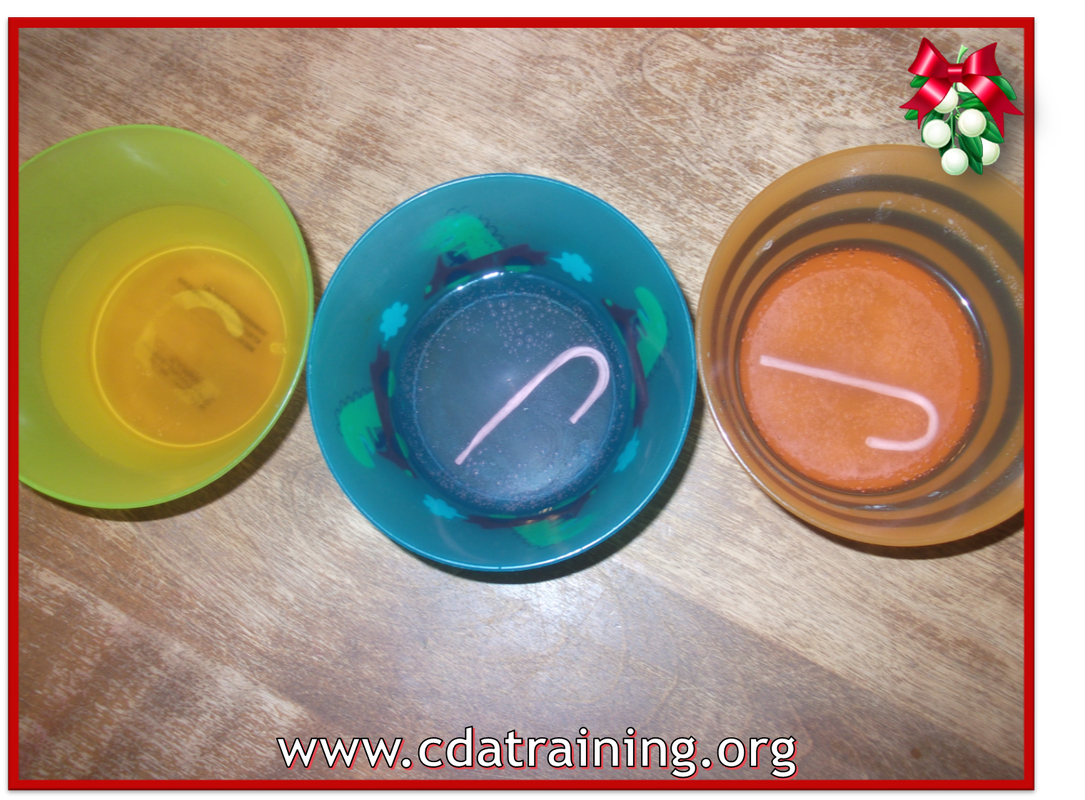
Which candy cane will dissolve first? |
Learn how a candy cane is made. | |
- Green Felt
- glue {craft glue, or hot glue)
- beads and/or other assorted “ornaments”
- Candy Cane
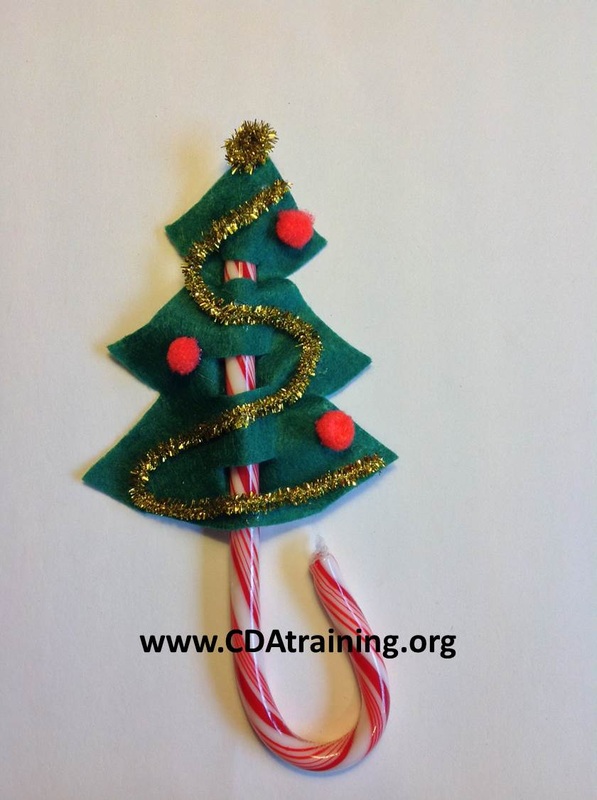
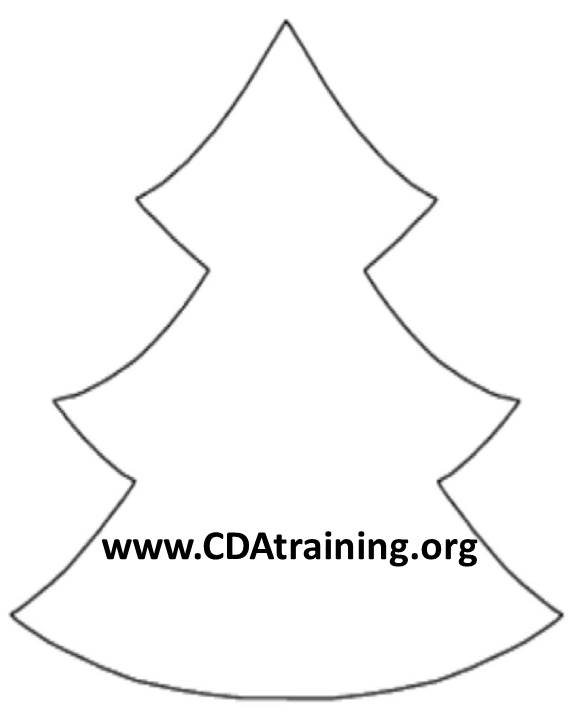
Cut slits where desired for the candy cane to slide through. You want them just big enough for the candy cane.
Now it’s time to decorate. Pull out the candy cane and glue on a star and some ornaments. You can use Elmer’s Glue-All or hot glue depending on ages {and speed you want to go!}. Allow time for the glue to dry before inserting the candy cane again.
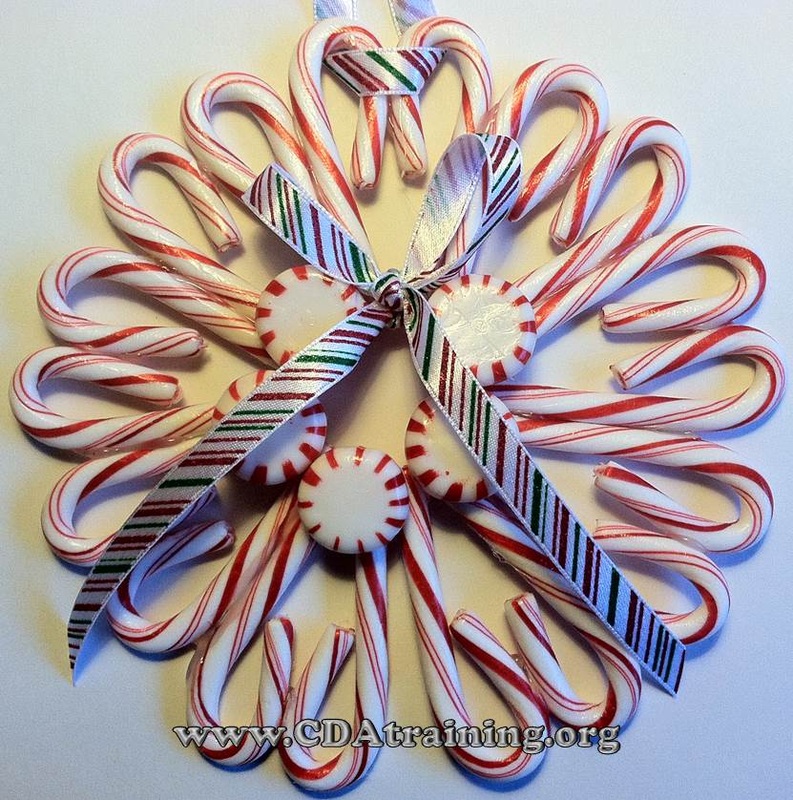
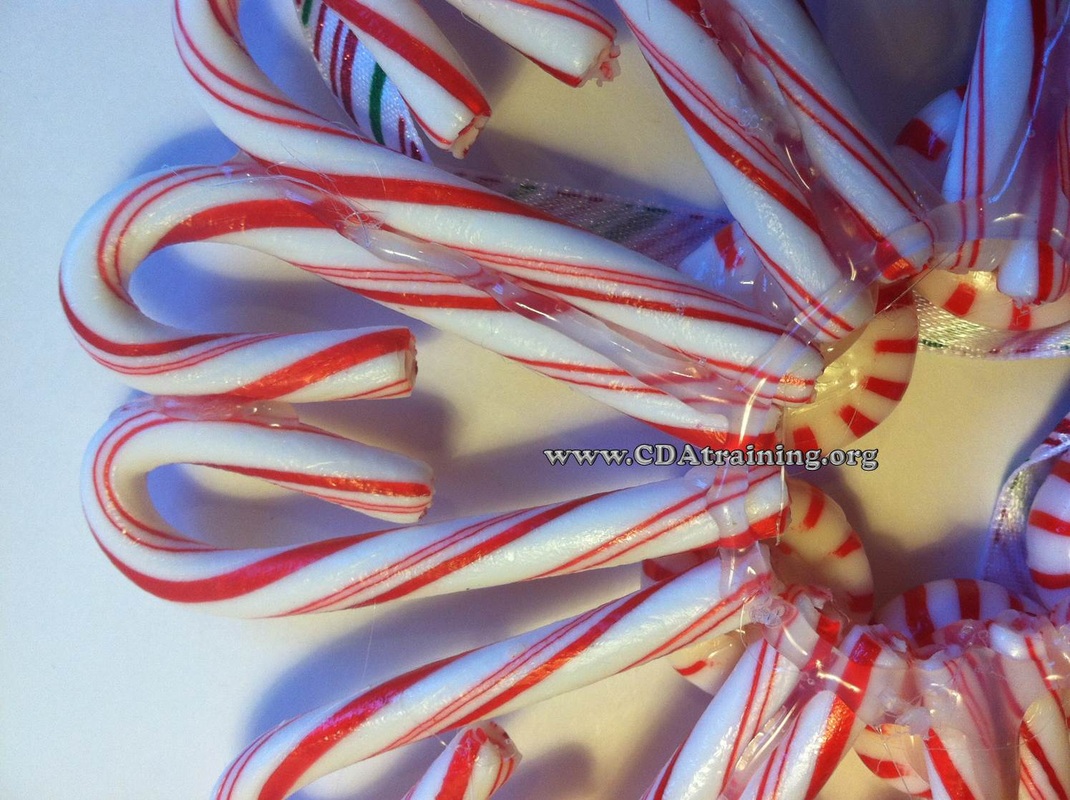
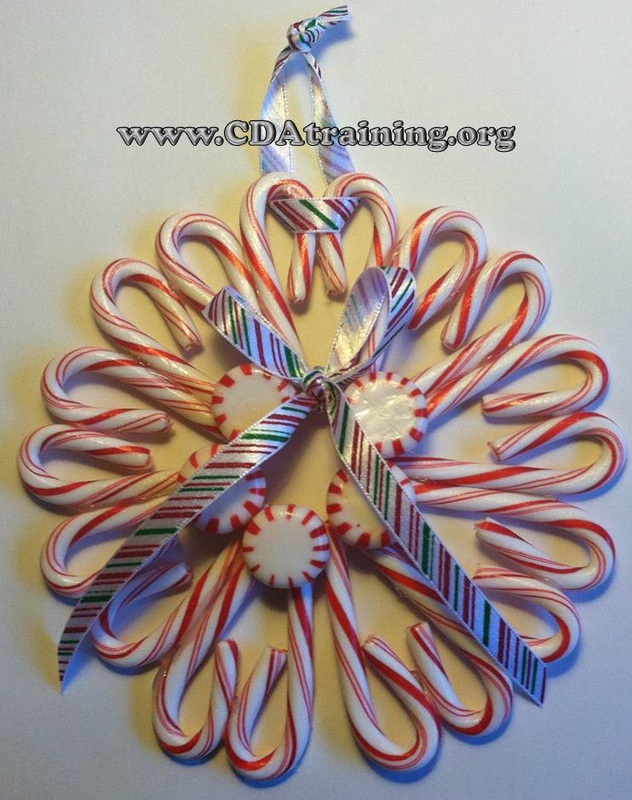
Directions; Glue your candy canes into heart shapes, as seen below, with a little glue at the crook and a little at the base where the ends meet. Once you have all the heart shapes you will need to create a circle, start gluing them together at the sides. When you have completed the entire circle, allow it to dry. Once dry, reinforce the back with extra glue. After the reinforcement is dry, turn the wreath back over and glue the "starlight mints" to the base of each of your heart shapes, or as many as your inner area will allow. Take about 10" of ribbon and tie it into a bow. Glue the bow where you think it would look best for your wreath. Finally take another 4" inches of ribbon and tie it into a loop. Slip the loop over two of the crooks in your wreath and you are finished.
*If you remove your candy canes from their plastic coating, you may want to spray them with shellac when you are finished.
Christmas
Archives
December 2014
March 2014
December 2013
November 2013
October 2013
Categories
All
Alphabet
Art
Baking
Candy Cane
Card
Christmas
Christmas Songs
Christmas Tree
Color Matching
Cookies
Coordination
Counting
Elf
Fine Motor
Food Play
Fruit
Gift
Glue
Hand
Happy Holidays
House
Letter
Lights
Mask
Matching
Ninja Turtle
Numbers
Ornament
Paper Bag
Paper Plate
Paste
Poem
Polar Bear
Pom Pom
Popsicle
Present
Puppet
Reindeer
Santa Clause
Santa Hat
Science
Sensory
Small Motor
Snack
Snow
Snowball
Snowflake
Snowman
Sorting
Toilet Paper Roll
Tree
Wreath

 RSS Feed
