|
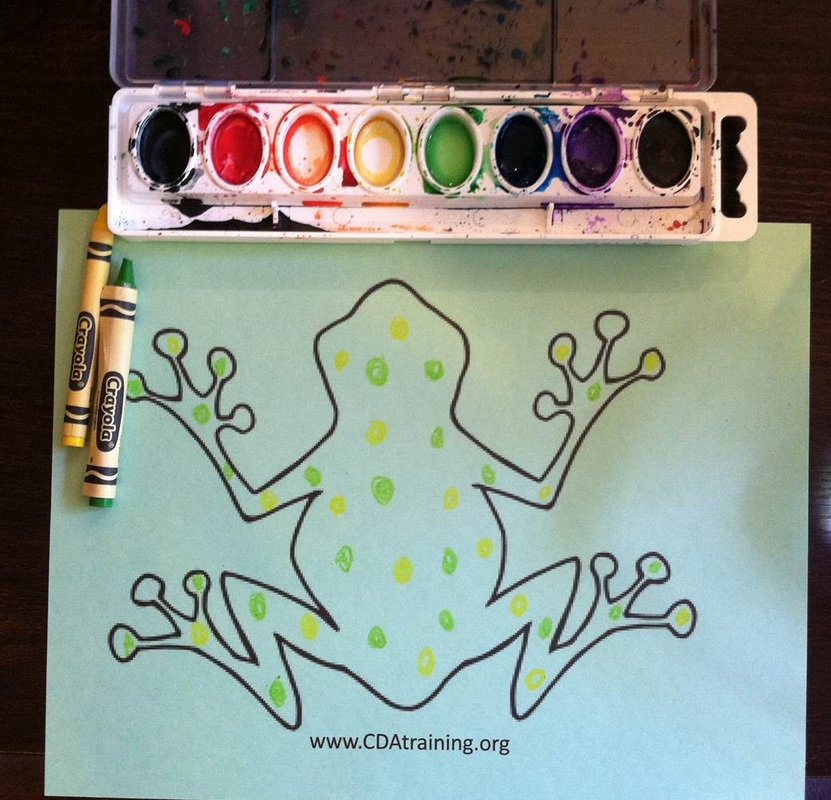
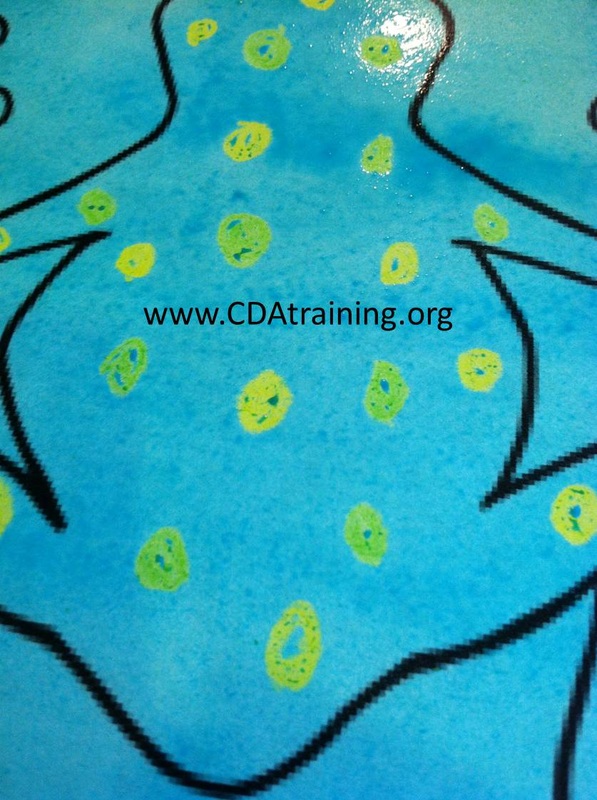
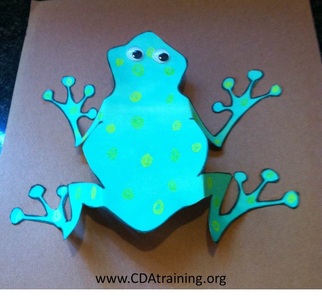
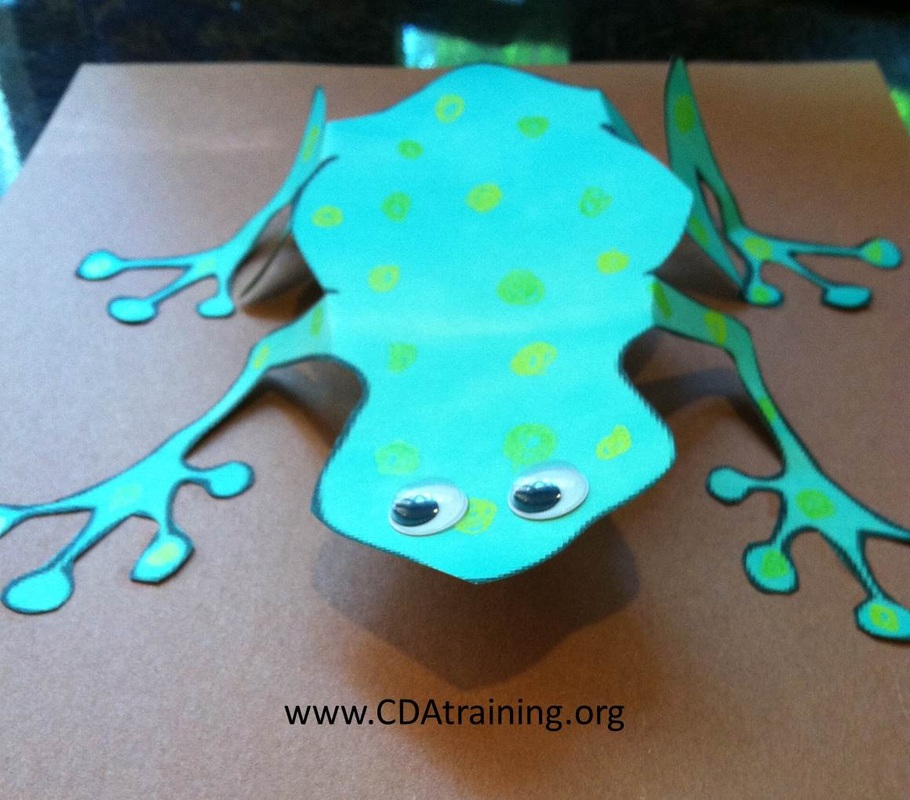
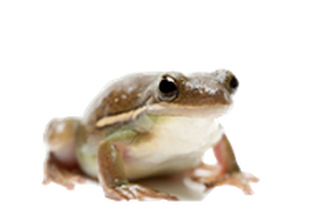
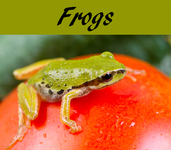
Supplies Needed; Template, crayons, water colors, scissors, glue, and brown construction paper Directions; Using crayons, draw colored circles on frog template to resemble tree frogs like the ones pictured above. After drawing circles, use your water colors to paint your frog. The water color paint will not stick to the crayon because of the wax, and will bead up. Allow the water color to dry, then cut out your frog. Before gluing your frog to the paper, bend the frogs legs at the shoulder/hip and ankle/wrist locations. this will make it possible for your frog to "stand" off of the paper creating a 3d effect. Template;
0 Comments
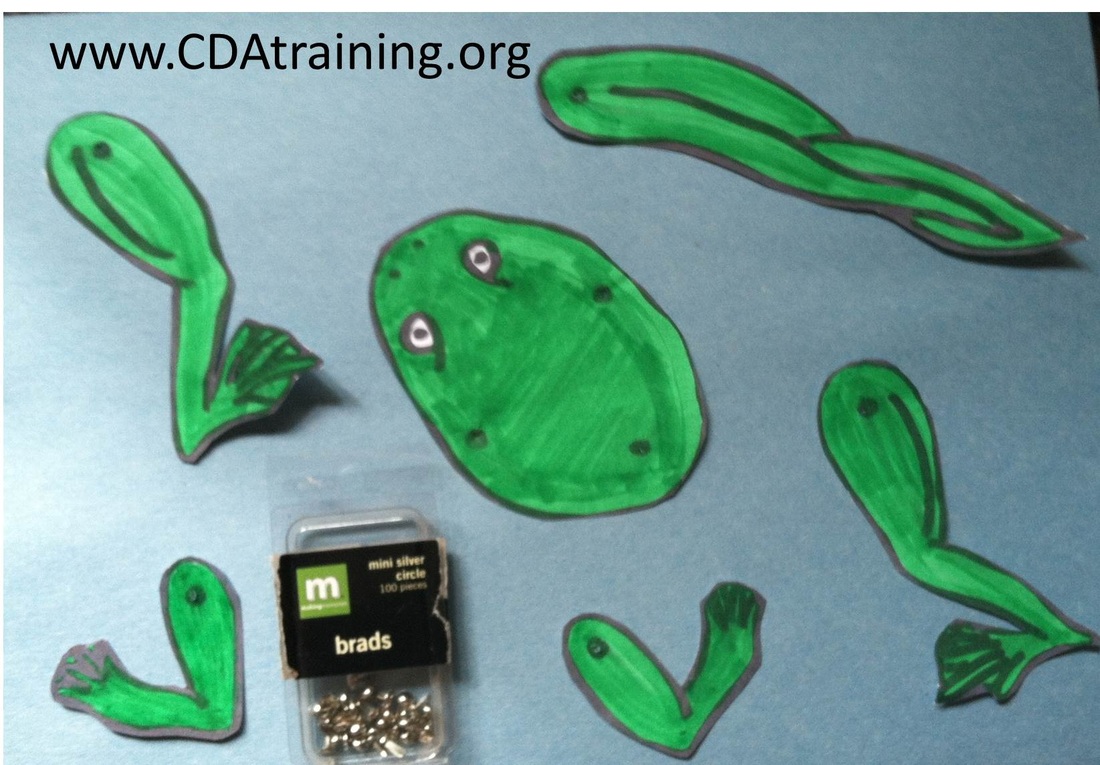
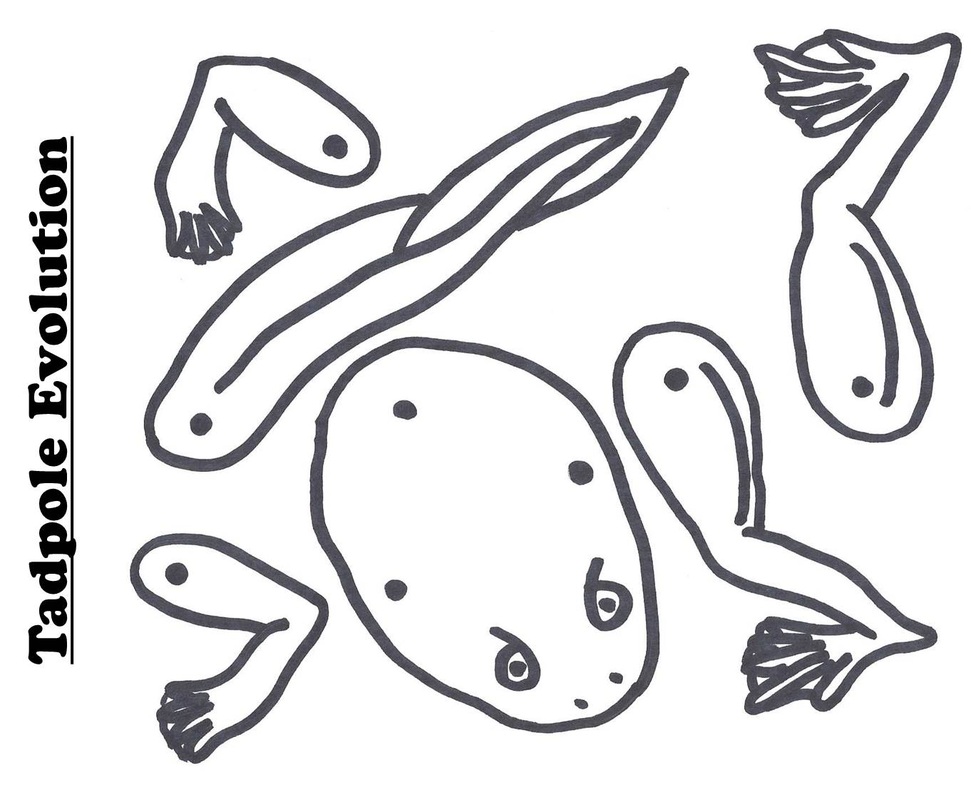
Supplies Needed; Template, crayons or markers, scissors, and brads.
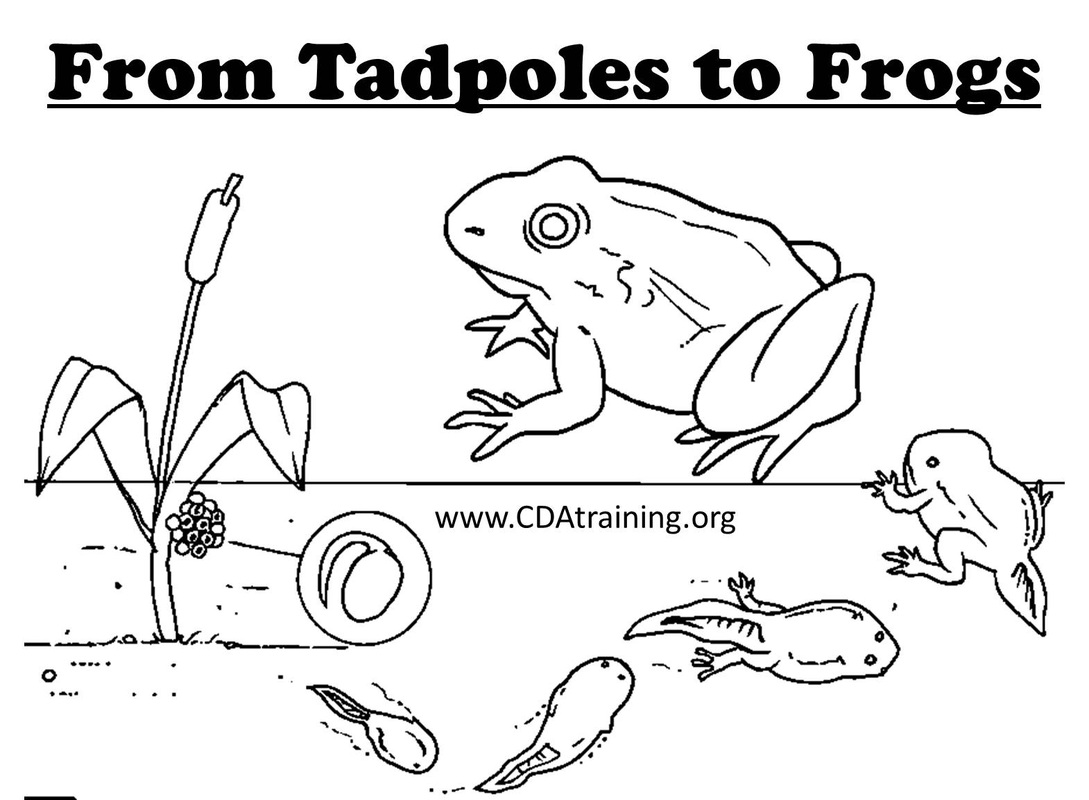
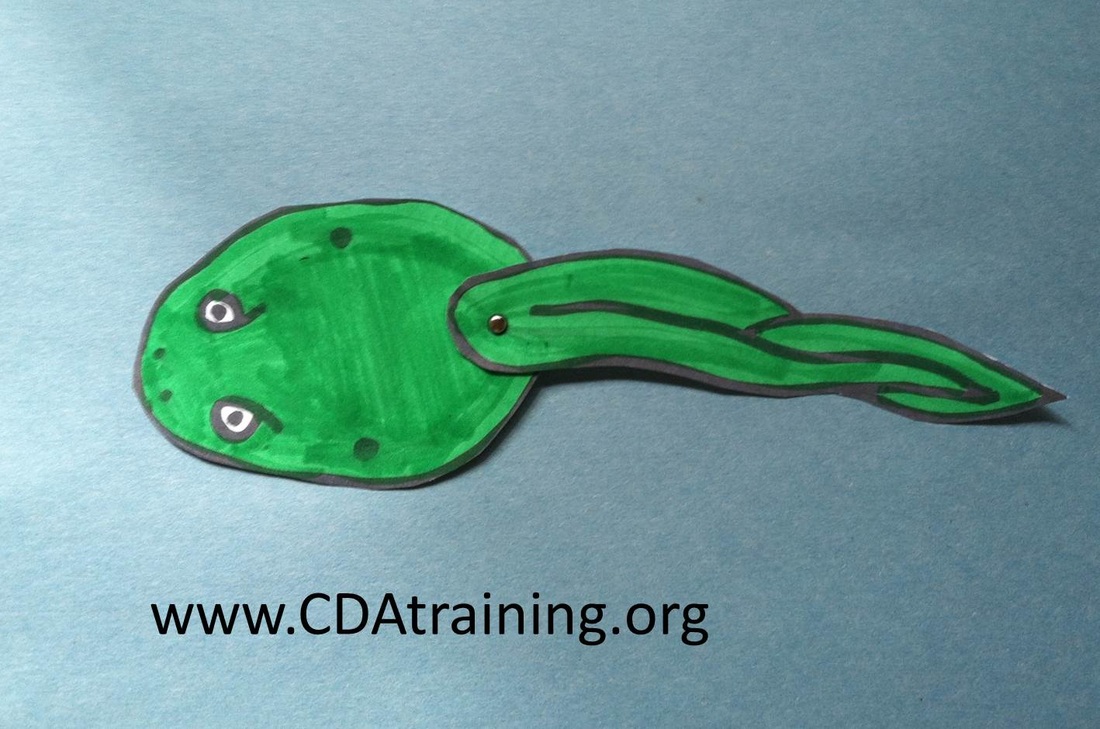
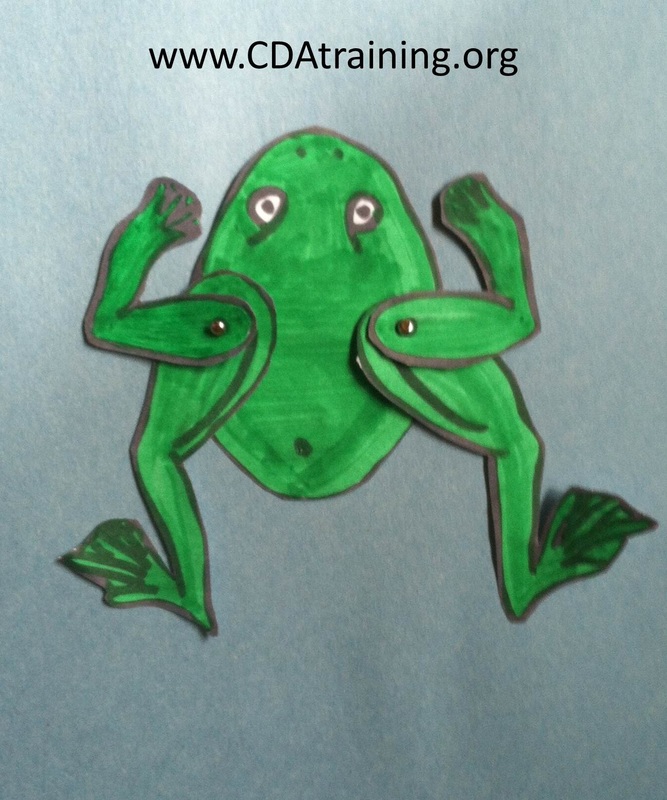
Directions; Assist children in coloring template and cutting it out the frog outline. Then use the brads to affix the tadpole tail, and legs interchangeably to demonstrate how tadpoles begin as frogs and evolve into frogs.
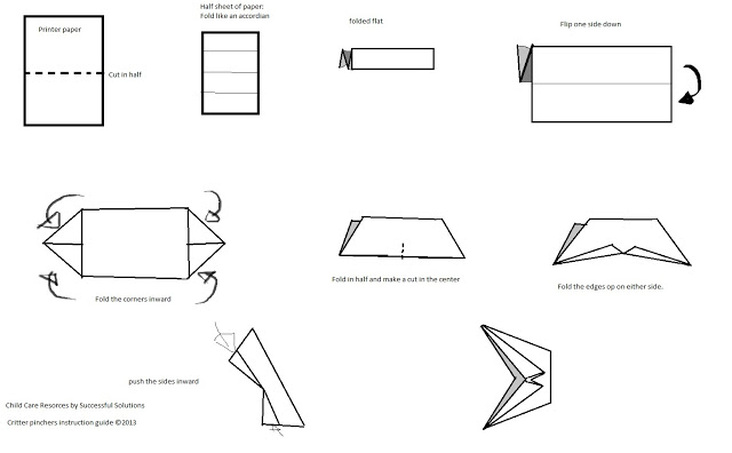
To print the instructions, "How to Pincher Critters" save in your pictures and print as a JPEG.
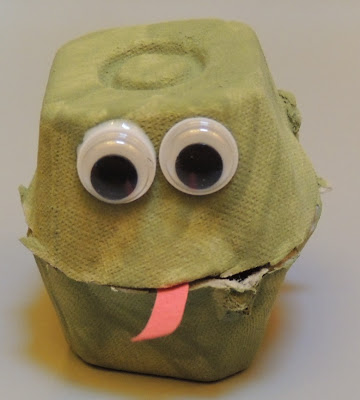
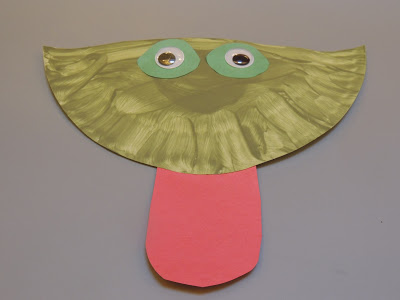
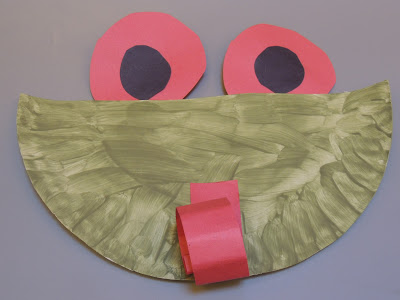
Provide paper plates, construction paper, googly eyes, glue and green paint for
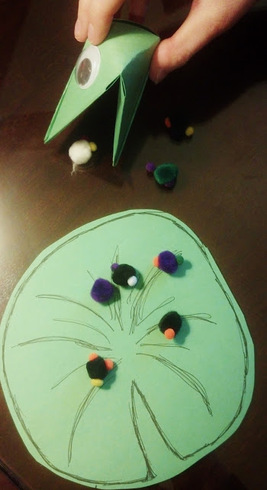
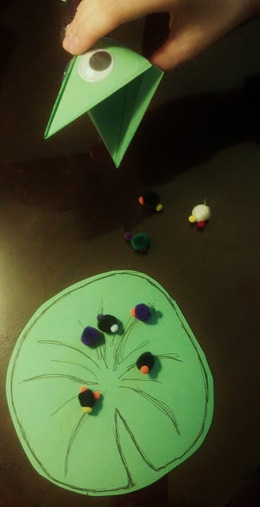
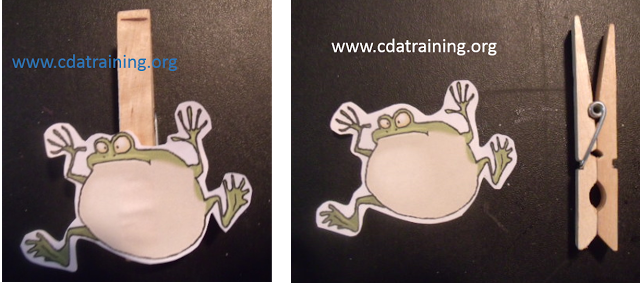
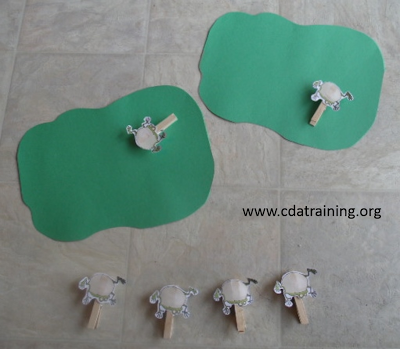
each child to make their own paper plate frog. Materials needed: clothespins, frog stickers, or toy frogs, green felt or construction paper for lily pads. Directions: Glue one frog to one of the clothes pins. Make several. Cut the felt/construction paper into a round lily pad shape. Instructions: Have the children work on a hard surface. Place the clothes pin so that the frog faces the lily pads.
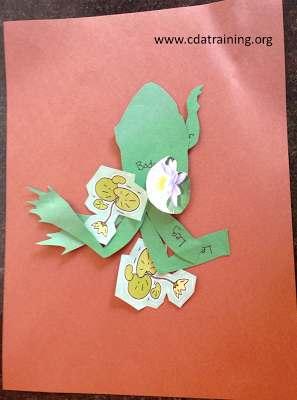
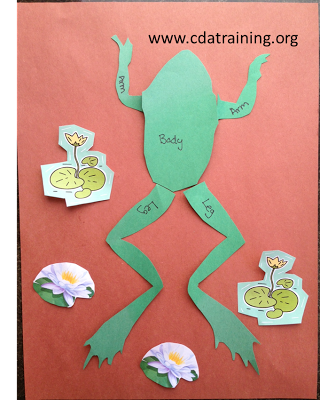
Show the children how to press down on the open end and let go. The cloths pin will jump. Let the children count how many frogs make it to the felt. This is a challenging game, and can be done with four year old children and older. If the game is too challenging for your group here is another way to play. Have the children stand in front of a medium size basket. The child holds the frog above the basket and tries to drop it in. Not as easy as it sounds! Print off pictures of frogs and lily pads off of the internet. Cut the frog into pieces, labeling each body part. Encourage the children to put the frog back together.
Materials needed:
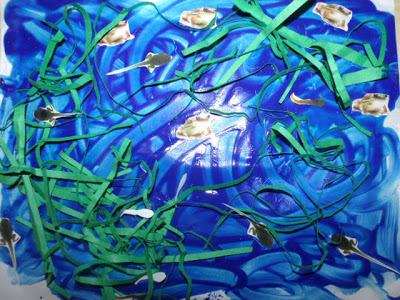
Take pictures of the children doing the different activities. Step one Day 1: Spread the poster paper out on the floor or a long table. Put blue finger paint in small dabs around the paper. Let the children finger paint and cover the whole paper. Step two Day 2: Lay out the dried poster paper. Give the children glue and green Easter basket grass. Let them attach the grass in any fashion. Step three Day 3: Have the children make a frog. When dry let them attach the frog anywhere they like on the paper. Step four Day 4: Have the children put tadpoles on the paper. Step five Day 5: Have the children create tadpoles with tales (essentially little frogs with tales), when dry let them place them on the poster paper. Post the completed project on the wall. Add pictures of frogs in different stages along the outside of the poster paper. Add picture of the children you took during the process. |
Frogswww.cdastars.com
Online Programs ArchivesCategories
All
|
- Blog
- Online Child Care Courses
-
Seasonal Themes
-
Spring Themes
>
- Air and Space
- Arbor Day
- Birds
- Bunnies
- Cinco De Mayo
- Easter
- Eggs
- Farm
- Father's Day
- Fishing
- Flags of the World
- Flowers and Gardening
- Foster Care Awareness Resources
- Found Art
- Hot Air Balloon
- International Children's Book Day
- Insects
- Kid Friendly April Fools Pranks
- Mother's Day
- National Bed Month
- Rainbows
- Saint Patrick's Day
- Spring
- Sports
- Weather
- Women's History Month
- Worms
- Fall Themes >
- Summer Themes >
-
Winter Themes
>
- Advent
- Black History Month
- Cardiac Health
- Christmas >
- Chinese New Year
- Congenital Heart Defect Awareness Month
- Dental Heath Awareness
- Dr. Martin Luther King Jr. Day
- Dr. Seuss Birthday
- Elf on the Shelf Ideas
- Football - Super Bowl
- Germs and Illness
- Grinch
- Groundhog Day
- Hanukkah
- Hibernation
- Kwanzaa
- National Cookie Day
- New Years
- Olympic Games
- Penguin
- Pets
- Post Office
- Presidents Day
- Sensory
- Snow
- Snowman
- Teddy Bears
- Winter
- Valentines Day
- Valentines Day Cards
- Valentines Day Decorations
-
Spring Themes
>
- All About Babies
- Growing and Learning
- Contact Us
- Online Courses for Early Childhood Educators
We have provided links where books or educational items that are related to the lesson plan can be purchased on Amazon. These links are intended for the purpose of your convenience to find the referenced item. However, as an Amazon Associate we earn from qualifying purchases that result from clicking on the links.
This website is owned and managed by Successful Solutions Professional Development LLC. Links to online courses that can be purchased are services that are provided by Successful Solutions Training in Child Development, which is a subsidiary of Successful Solutions Professional Development LLC.
This website is owned and managed by Successful Solutions Professional Development LLC. Links to online courses that can be purchased are services that are provided by Successful Solutions Training in Child Development, which is a subsidiary of Successful Solutions Professional Development LLC.
We offer the most comprehensive student support available in a web based learning environment.
E-mail: [email protected]
Phone: (360) 602-0960
Phone: (360) 602-0960
123 Play-and-Learn! Child Care Basics Resources
A child care curriculum blog brought to you by Successful Solutions Training in Child Development.
A child care curriculum blog brought to you by Successful Solutions Training in Child Development.
Address: PO Box 727, Burley, WA 98322-0727 * www.123playandlearn.com
Copyright 2018. Successful Solutions Professional Development LLC. * All Rights Reserved. Updated June 27, 2018
Copyright 2018. Successful Solutions Professional Development LLC. * All Rights Reserved. Updated June 27, 2018


 RSS Feed
