|
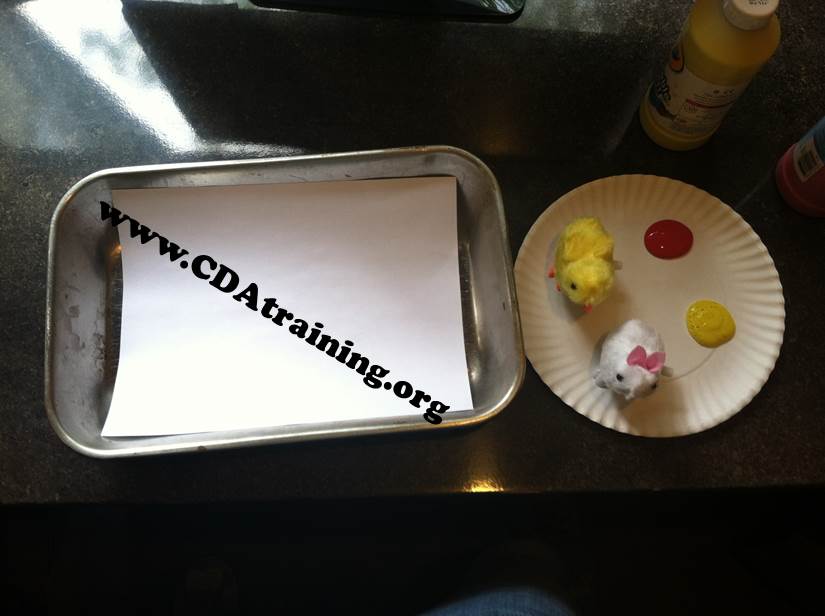
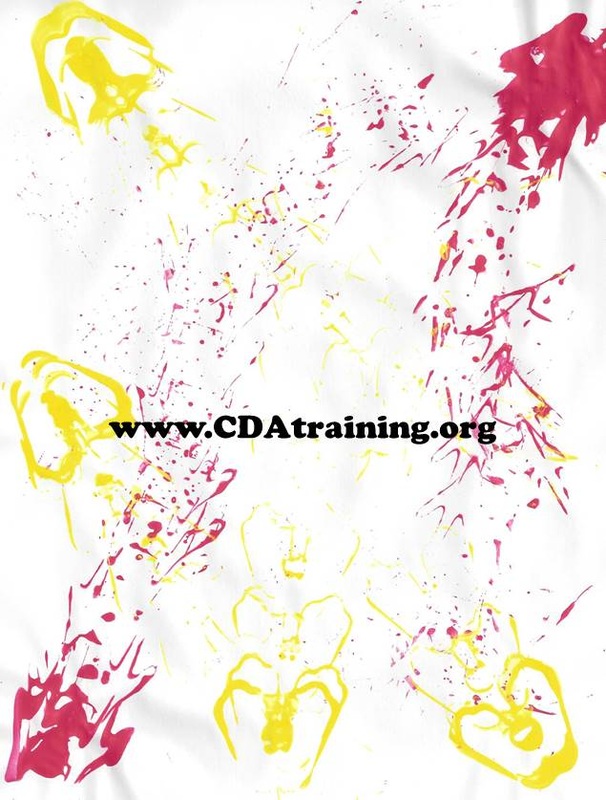
This was a lot of fun to do. We put paper in the bottom of a cookie sheet, then dipped our wide up critter's toes in the paint and set them loose on the paper. We had a lot of fun testing out different colors and seeing what happened when the paths crossed.
0 Comments
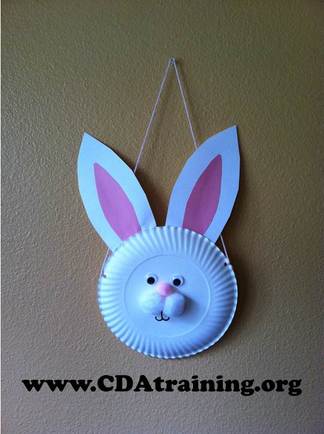
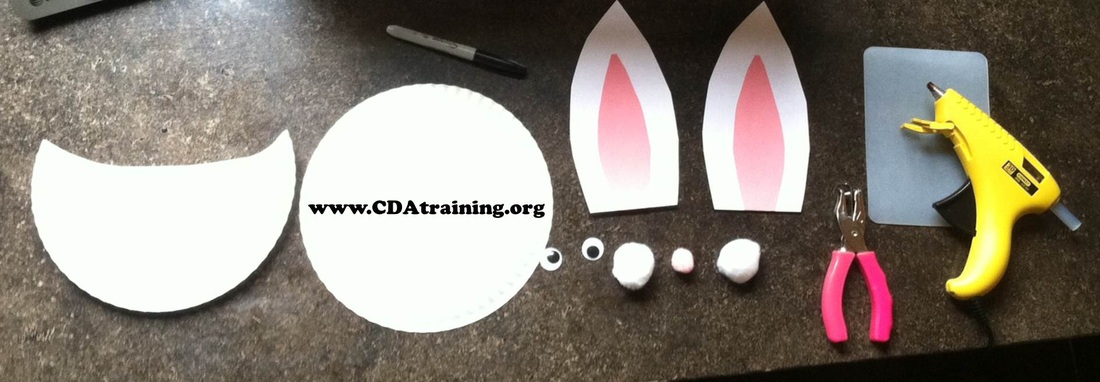
Supplies Needed; Two paper plates, two white pompoms, one pink pompom, pink yarn, two wiggly eyes, pink and white construction paper, scissors, glue (or glue gun), and a hole punch.
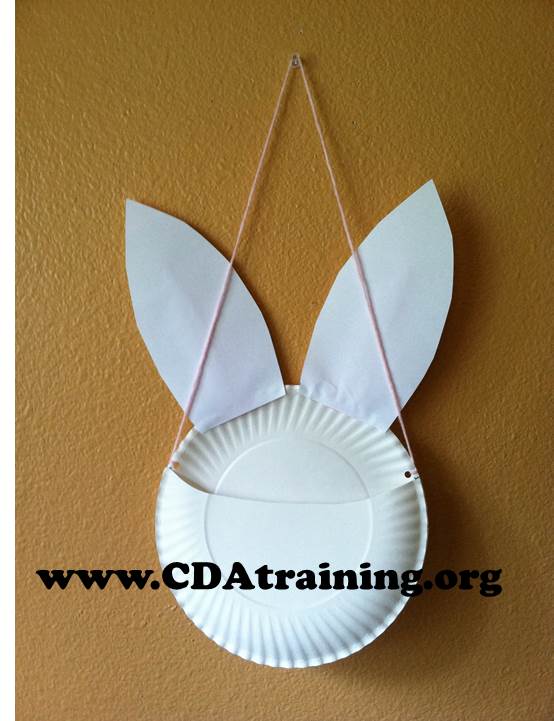
Directions; Cut out 1/3 of one plate (as seen below). Glue the plates together, with the beveled side facing outward. Next cut out your ear shapes by cutting a pointed oval with the pink oval slightly smaller than the white. Now glue your ear pieces together (pink on top of white), and then glue the ears to the larger plate at the top (see photo above). Use your hole punch to create two holes on the side edges, and string yarn through to create a handle. Finally, glue your pompoms and wiggly eyes, and draw on your bunny mouth. This is a good way to use extra peeps after Easter.
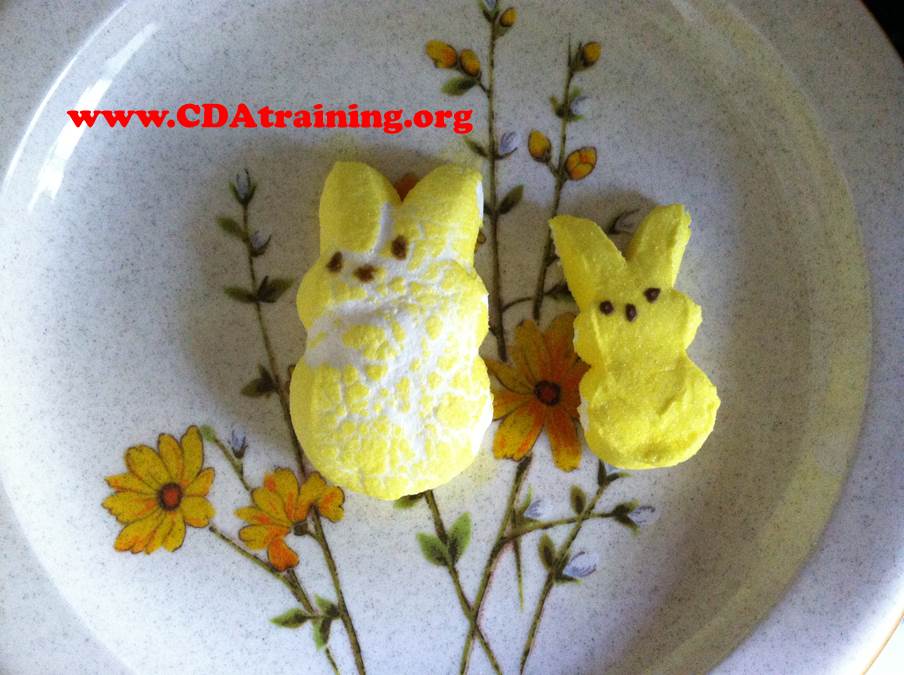
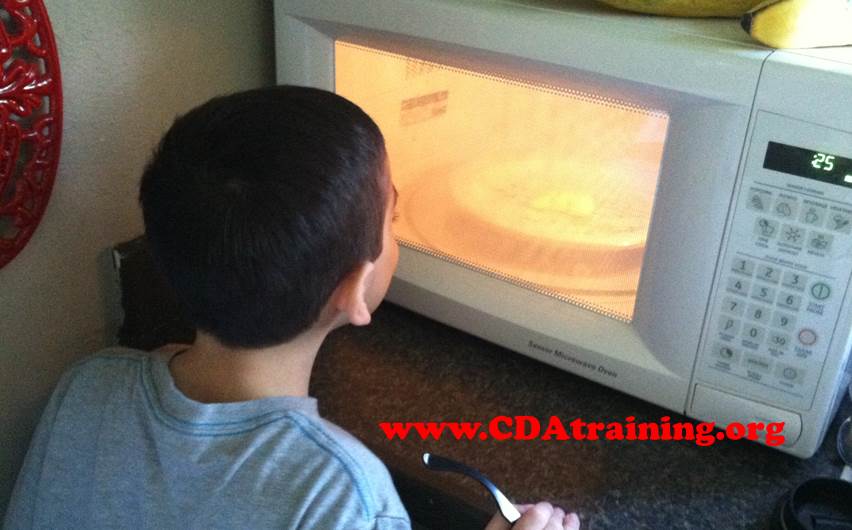
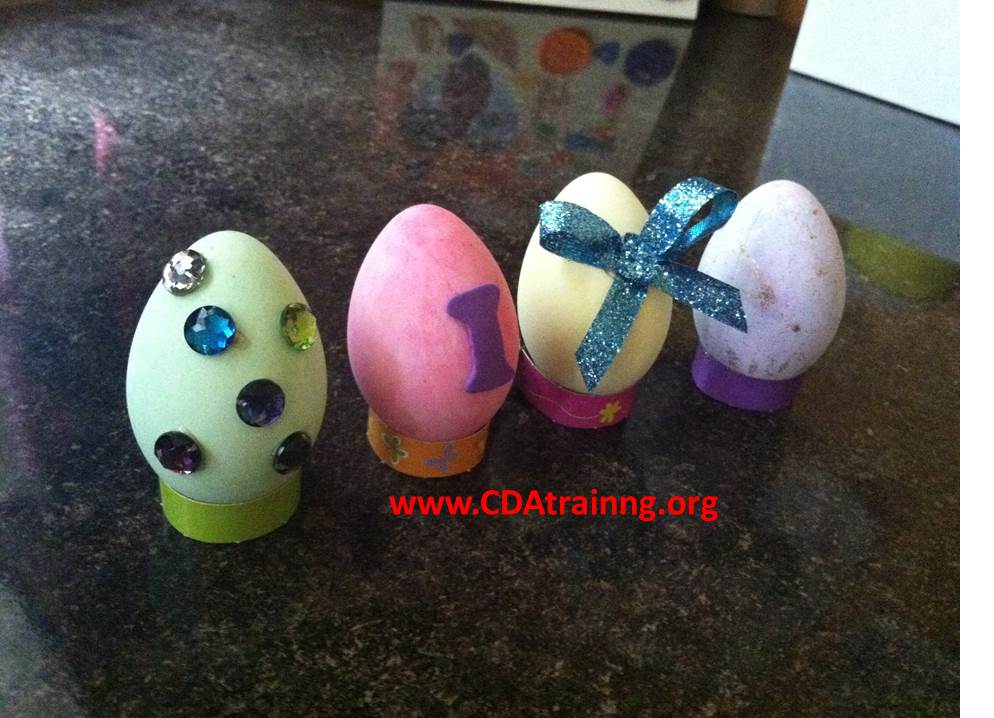
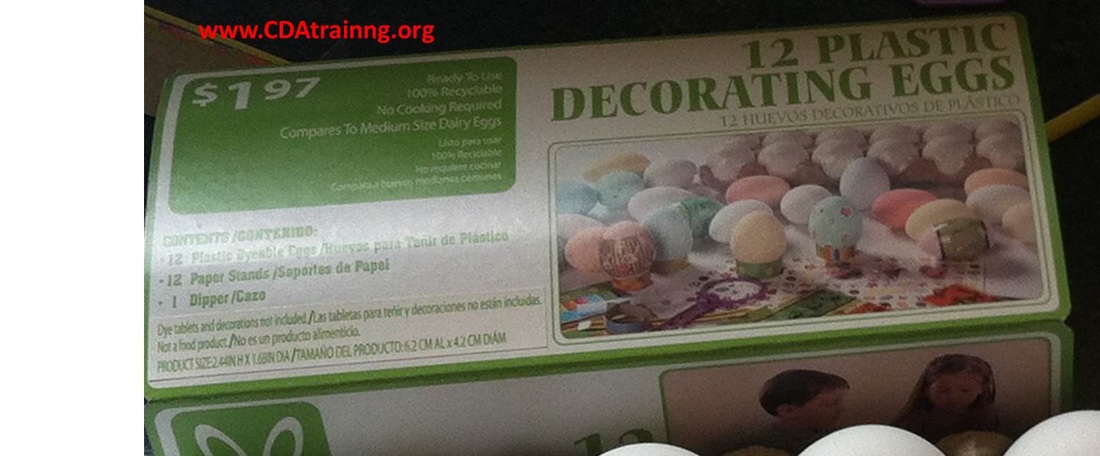
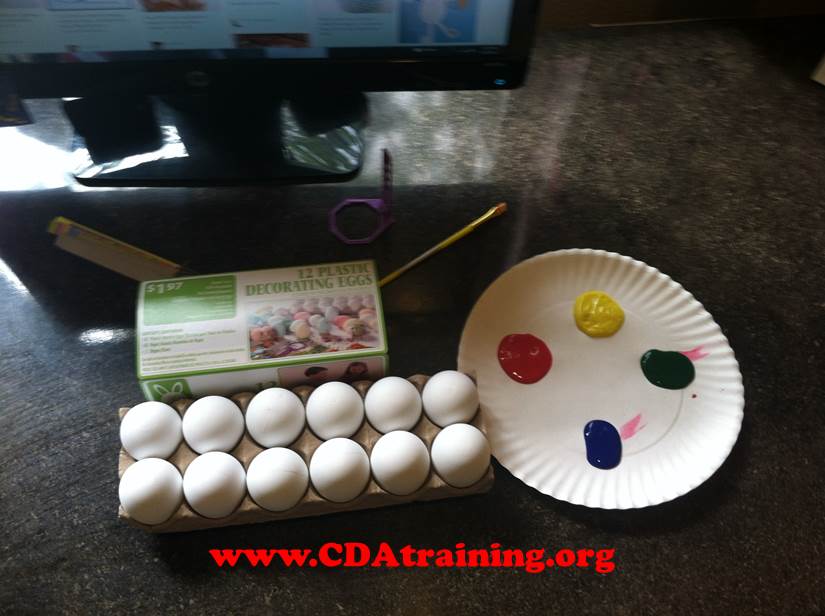
We had a great time "exploding" peeps. We put them on a plate, and set the microwave for 30 seconds. They expanded to about three times their normal size. **Please use caution when removing them from the microwave. They are extremely hot and can burn you. ** We were so excited to come across this Easter egg alternative! They can be purchased online, or in person at Walmart. We were able to paint them, dye them, and even use a glue gun to accessorize them. They make a great keepsake, as well as a fun craft for kids with egg allergies.
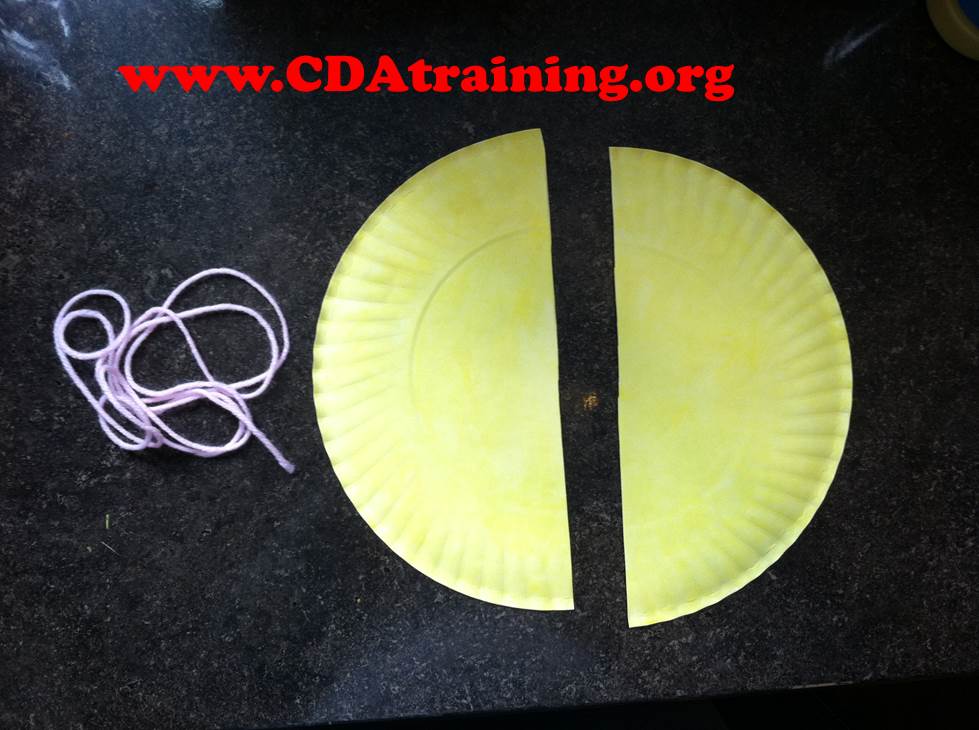
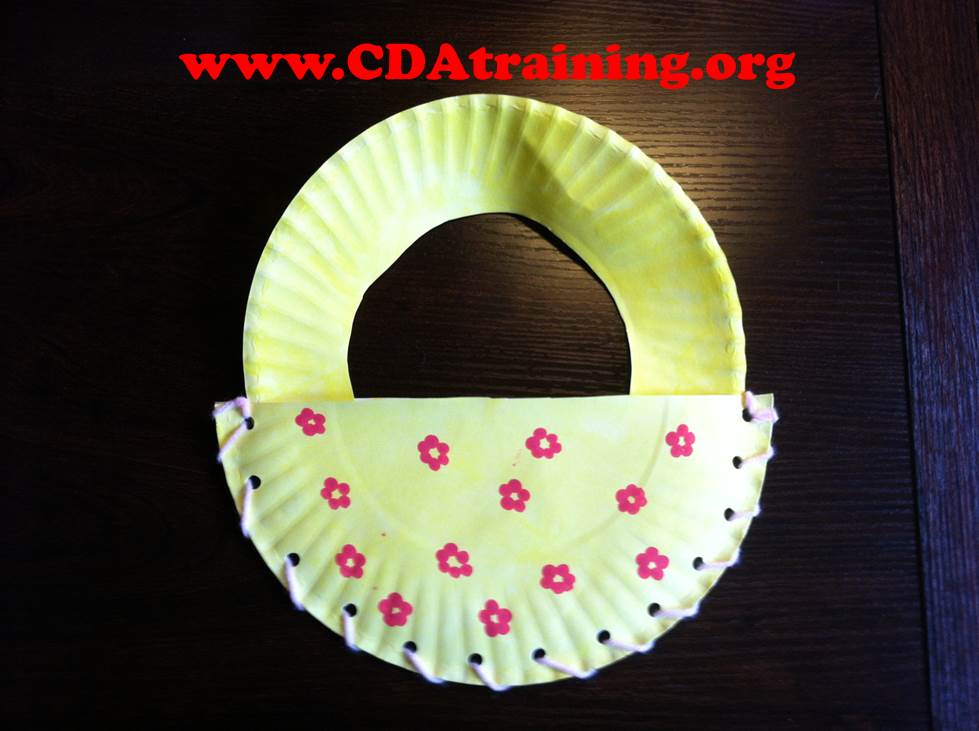
Supplies Needed; 2 Paper Plates, yarn, hole punch, and paint
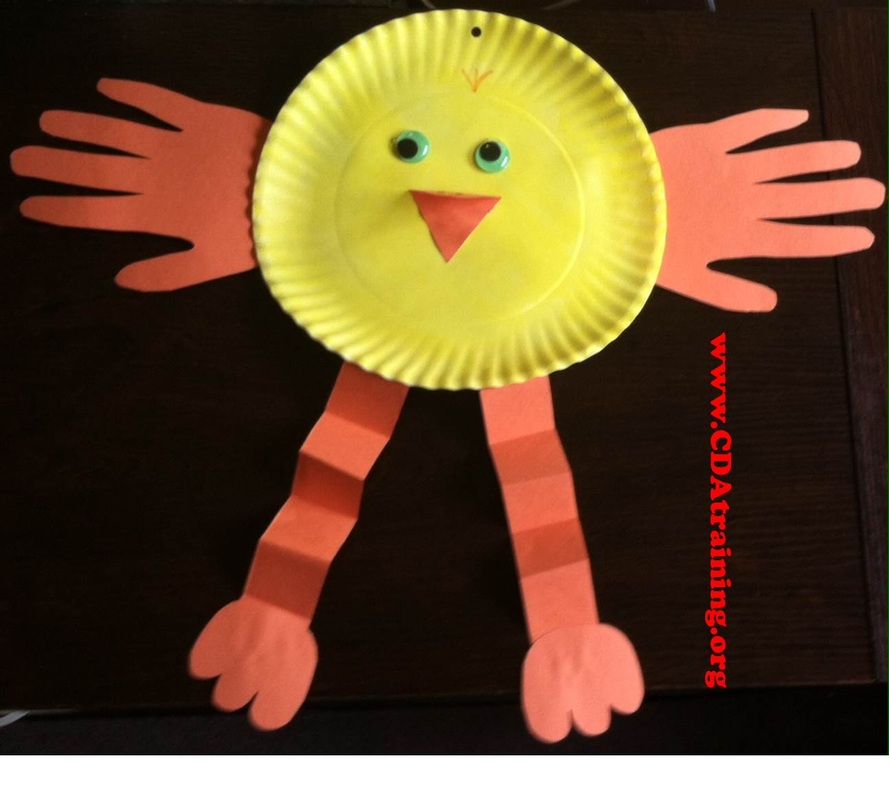
Directions; Paint you paper plates yellow and allow to dry. Once dry, cut both plates in half. Set 2 pieces aside. Place the remaining 2 sides together (white sides facing inward) and use a hole punch to create 12-13 holes around the edge. use the yarn to lace the bottom of the basket closed. Next take one of your remaining halves, and cut along the arched line to create a basket handle. Glue it inside your basket and decorate as desired. This was a quick and simple craft. We painted a plate yellow, and used orange construction paper for the rest. Little hands really do make the best chicken wings.
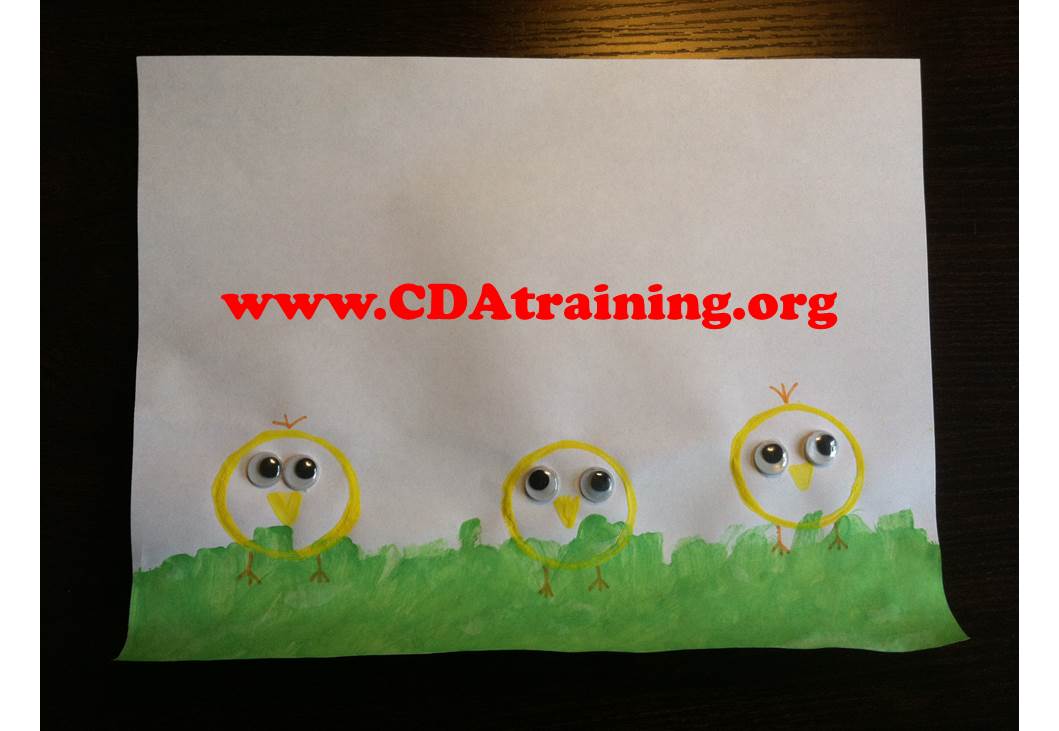
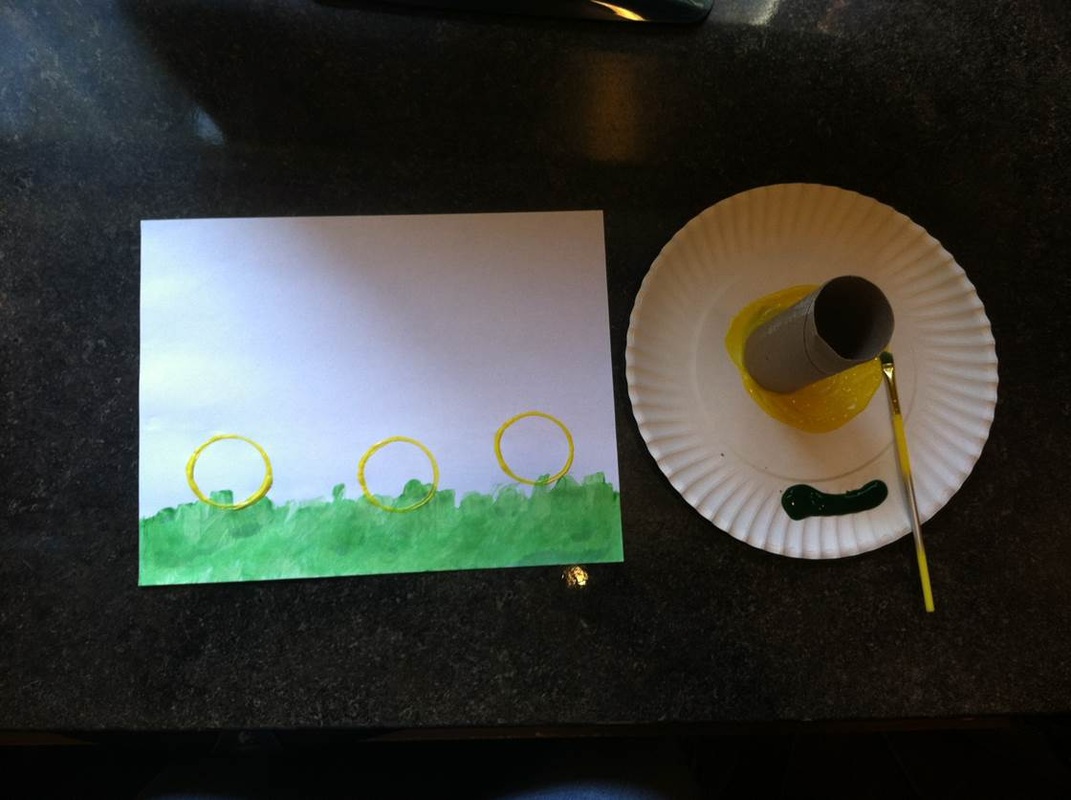
Use a toilet paper roll as a stamp for the chick bodies. Allow the paint to dry, then add accents. We painted the grass prior to stamping the chicks.
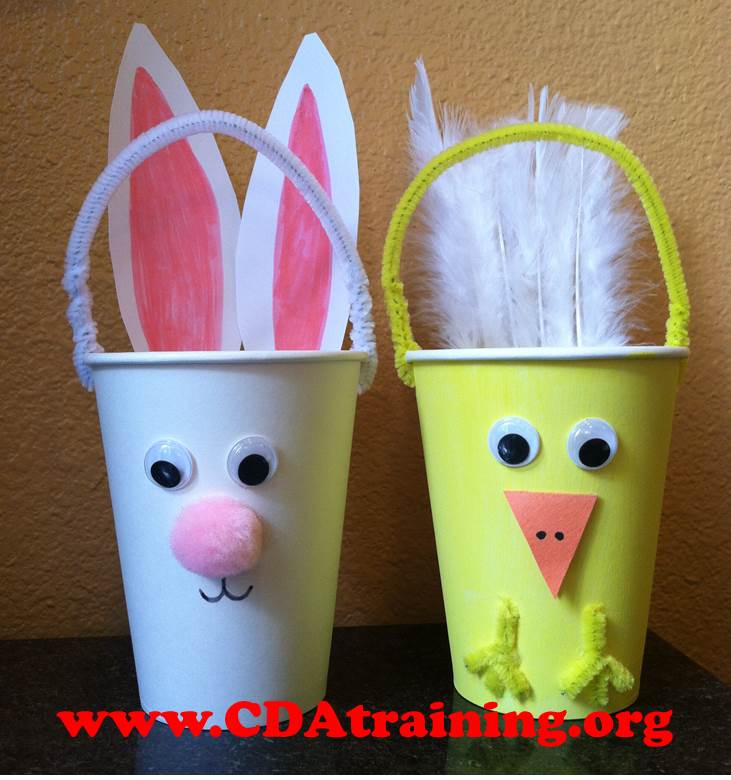
We used paper cups, and accessorized them with pompoms, paper, feathers, wiggly eyes, and pipe cleaners. We also painted the white cup yellow, for our chick cup. These cups are great for storing treats!
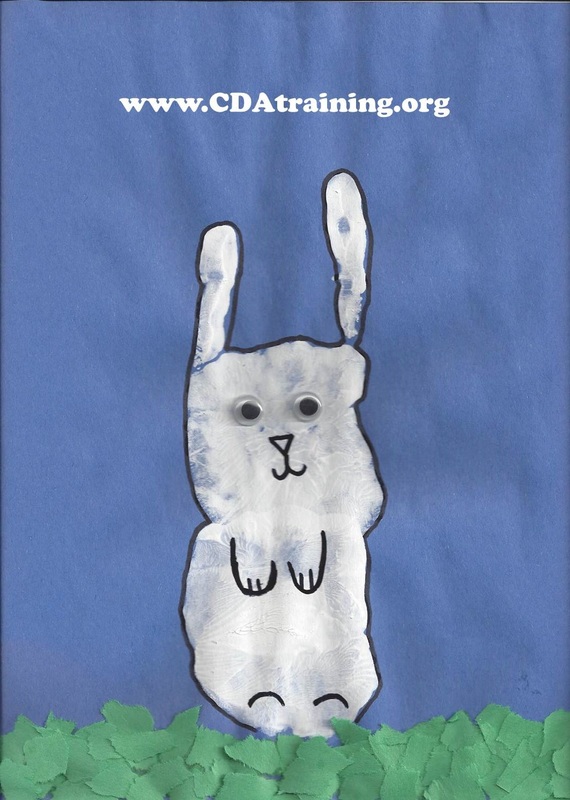
Supplies Needed; Shredded green construction paper, blue construction paper, white paint, glue, and a black pen.
Directions; Glue your shredded green construction paper to the bottom of your blue construction paper and allow it to dry. Paint the palm of your hand white, and stamp it down, just above the green construction paper. Next, paint your palm, index and pinkie finger and stamp them above your palm print. Allow the paint to dry. Once dry, trace the bunny figure, draw on arms and feet, and glue on the wiggly eyes. |
EasterArchivesCategories
All
|
- Blog
- Online Child Care Courses
-
Seasonal Themes
-
Spring Themes
>
- Air and Space
- Arbor Day
- Birds
- Bunnies
- Cinco De Mayo
- Easter
- Eggs
- Farm
- Father's Day
- Fishing
- Flags of the World
- Flowers and Gardening
- Foster Care Awareness Resources
- Found Art
- Hot Air Balloon
- International Children's Book Day
- Insects
- Kid Friendly April Fools Pranks
- Mother's Day
- National Bed Month
- Rainbows
- Saint Patrick's Day
- Spring
- Sports
- Weather
- Women's History Month
- Worms
- Fall Themes >
- Summer Themes >
-
Winter Themes
>
- Advent
- Black History Month
- Cardiac Health
- Christmas >
- Chinese New Year
- Congenital Heart Defect Awareness Month
- Dental Heath Awareness
- Dr. Martin Luther King Jr. Day
- Dr. Seuss Birthday
- Elf on the Shelf Ideas
- Football - Super Bowl
- Germs and Illness
- Grinch
- Groundhog Day
- Hanukkah
- Hibernation
- Kwanzaa
- National Cookie Day
- New Years
- Olympic Games
- Penguin
- Pets
- Post Office
- Presidents Day
- Sensory
- Snow
- Snowman
- Teddy Bears
- Winter
- Valentines Day
- Valentines Day Cards
- Valentines Day Decorations
-
Spring Themes
>
- All About Babies
- Growing and Learning
- Contact Us
- Online Courses for Early Childhood Educators
We have provided links where books or educational items that are related to the lesson plan can be purchased on Amazon. These links are intended for the purpose of your convenience to find the referenced item. However, as an Amazon Associate we earn from qualifying purchases that result from clicking on the links.
This website is owned and managed by Successful Solutions Professional Development LLC. Links to online courses that can be purchased are services that are provided by Successful Solutions Training in Child Development, which is a subsidiary of Successful Solutions Professional Development LLC.
This website is owned and managed by Successful Solutions Professional Development LLC. Links to online courses that can be purchased are services that are provided by Successful Solutions Training in Child Development, which is a subsidiary of Successful Solutions Professional Development LLC.
We offer the most comprehensive student support available in a web based learning environment.
E-mail: [email protected]
Phone: (360) 602-0960
Phone: (360) 602-0960
123 Play-and-Learn! Child Care Basics Resources
A child care curriculum blog brought to you by Successful Solutions Training in Child Development.
A child care curriculum blog brought to you by Successful Solutions Training in Child Development.
Address: PO Box 727, Burley, WA 98322-0727 * www.123playandlearn.com
Copyright 2018. Successful Solutions Professional Development LLC. * All Rights Reserved. Updated June 27, 2018
Copyright 2018. Successful Solutions Professional Development LLC. * All Rights Reserved. Updated June 27, 2018
 RSS Feed
