|
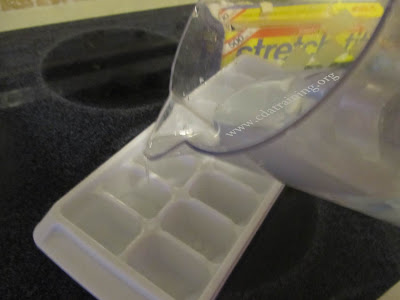
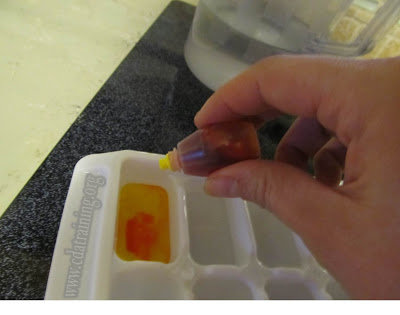
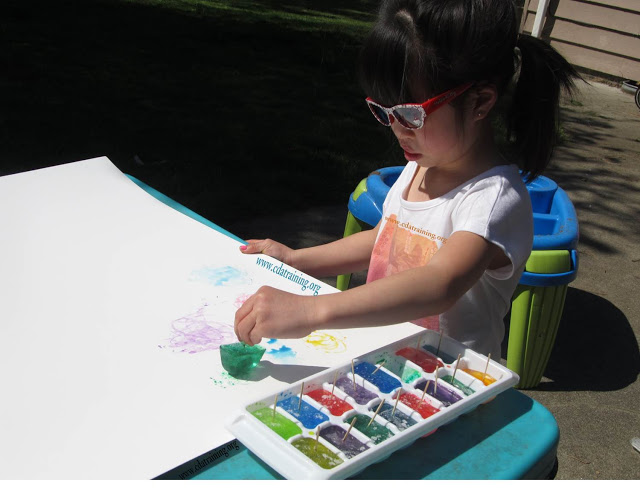
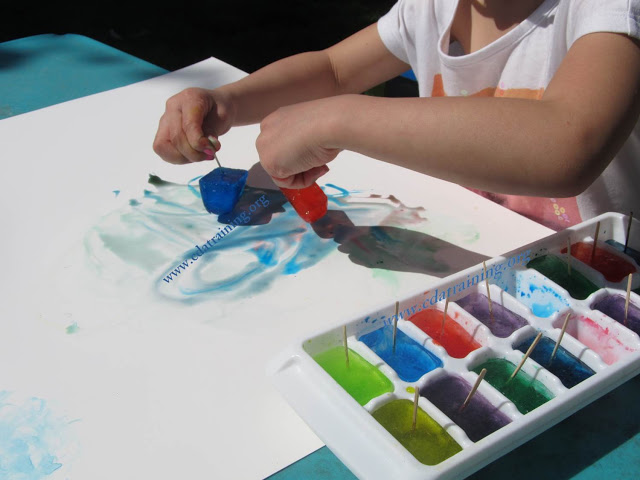
Here is what you will need: Ice tray, water, food coloring, toothpicks, and plastic wrap. 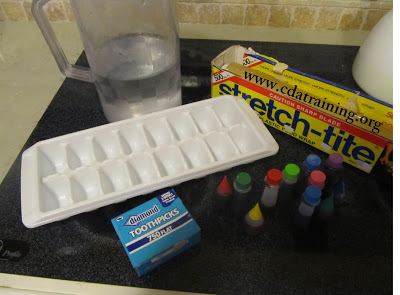 1. Fill your ice cube tray with water and add food coloring to each cube slot. 2. Stretch plastic wrap over the top tightly and poke a toothpick into each one. (Make sure the toothpick stands straight up). 3. Put into the freezer overnight.
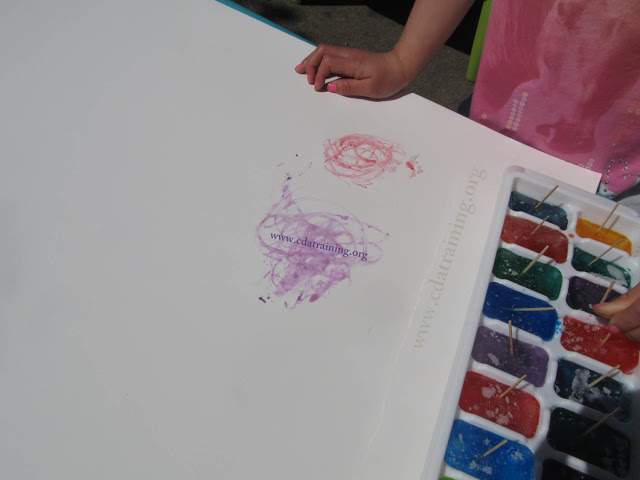
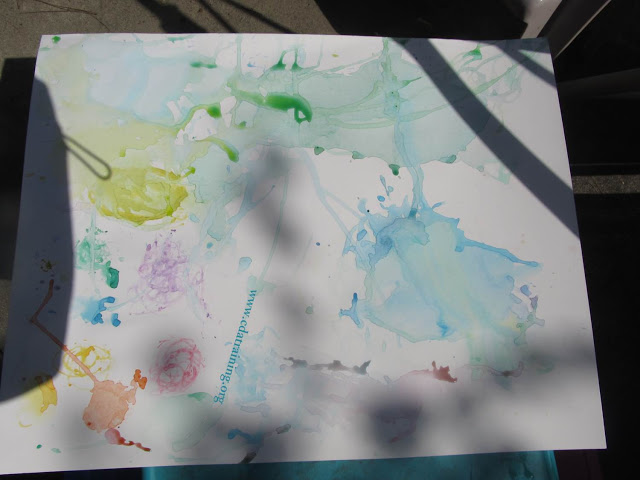
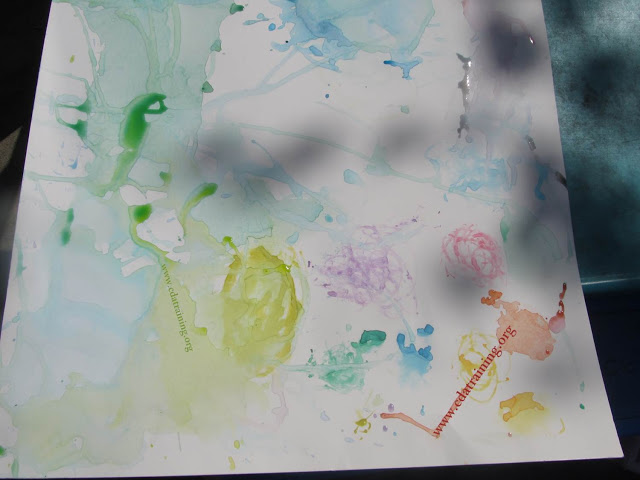
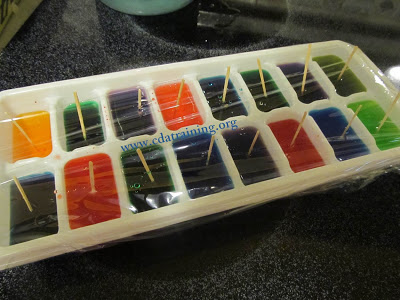 4. Take out and remove plastic wrap. 5. You can use a large piece of poster board paper, or let your child "paint" directly onto the cement...although the paper shows up much better. 6. "Paint" away!! This is wonderful for a warm day!
1 Comment
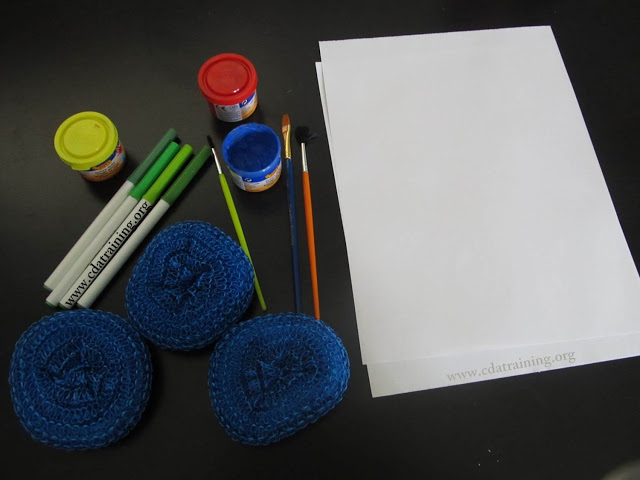
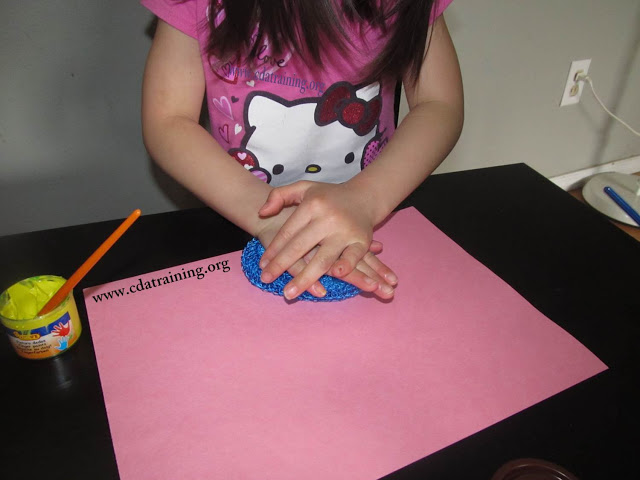
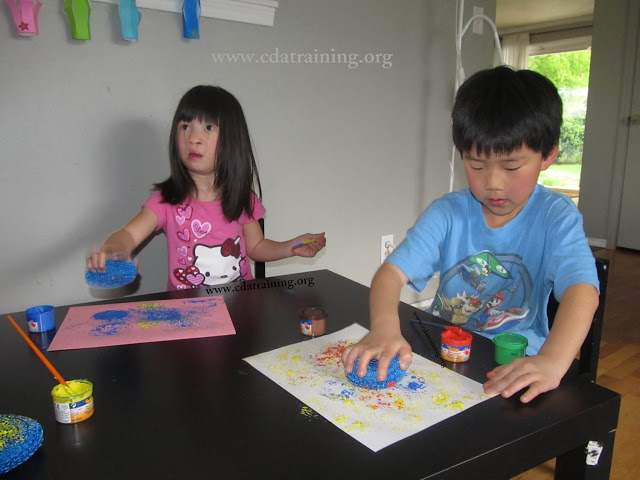
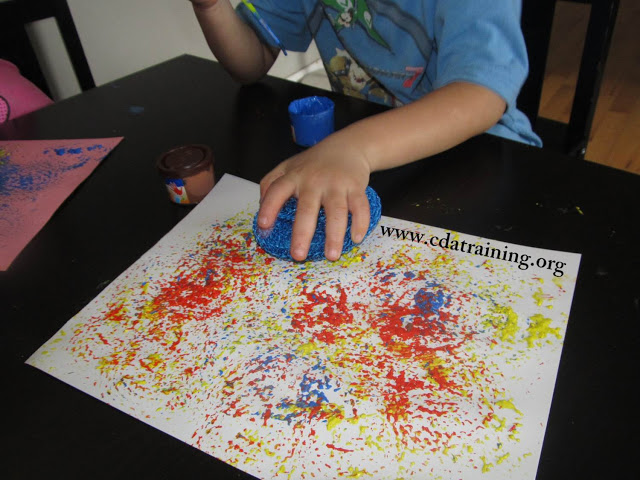
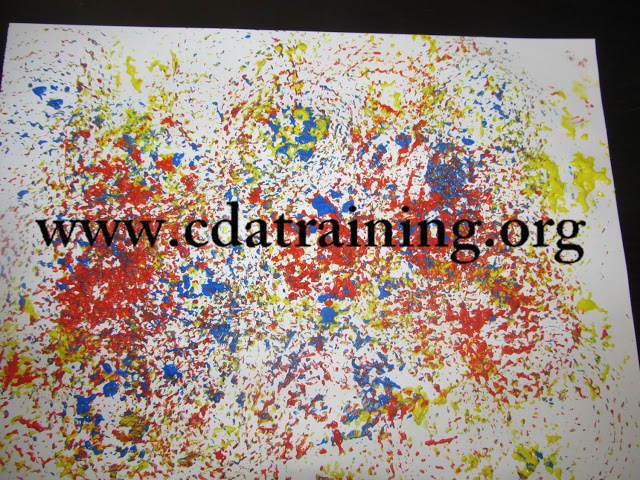
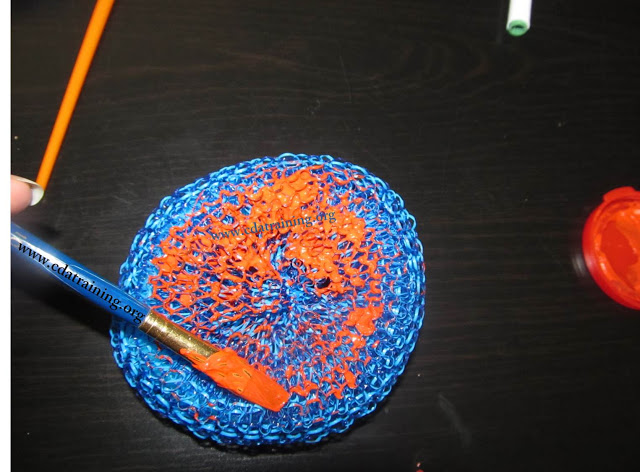
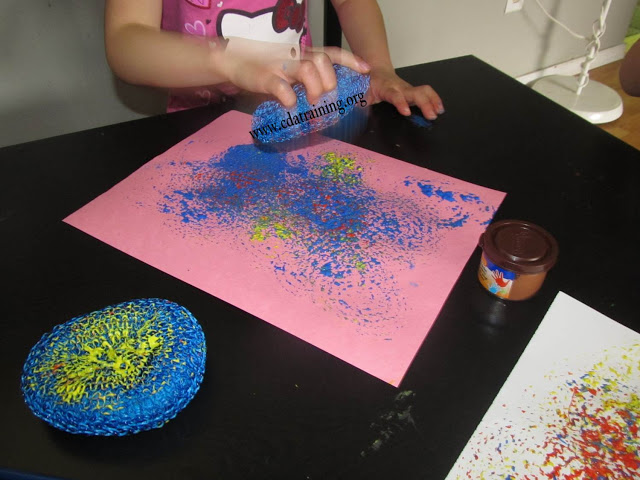
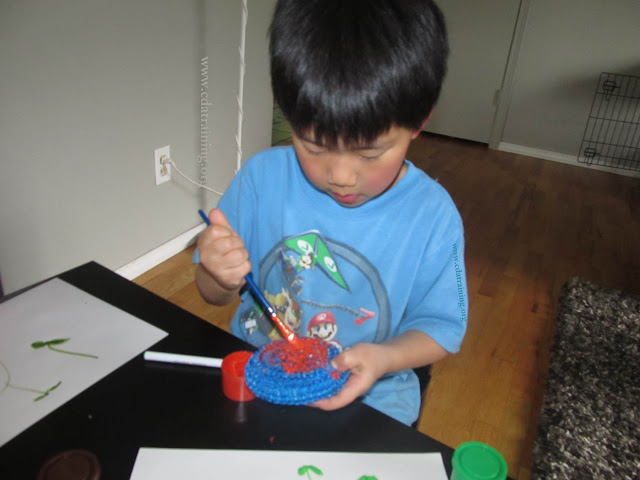
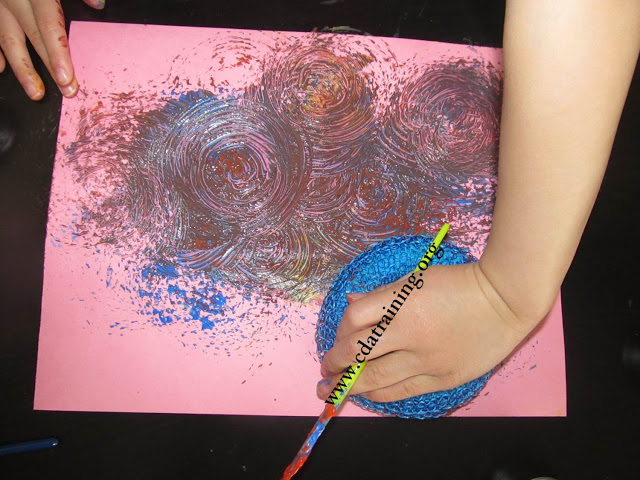
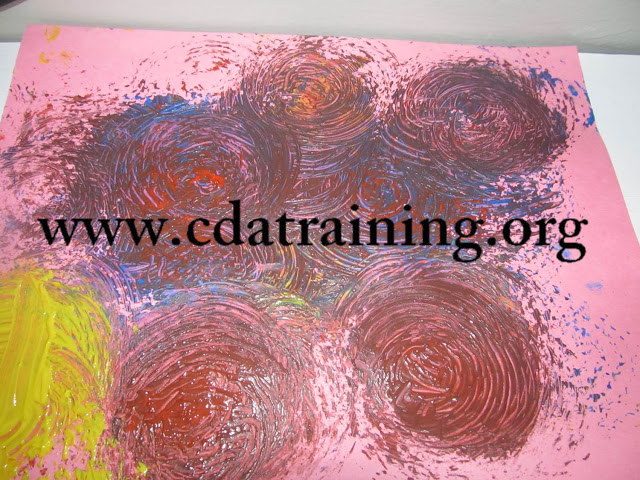
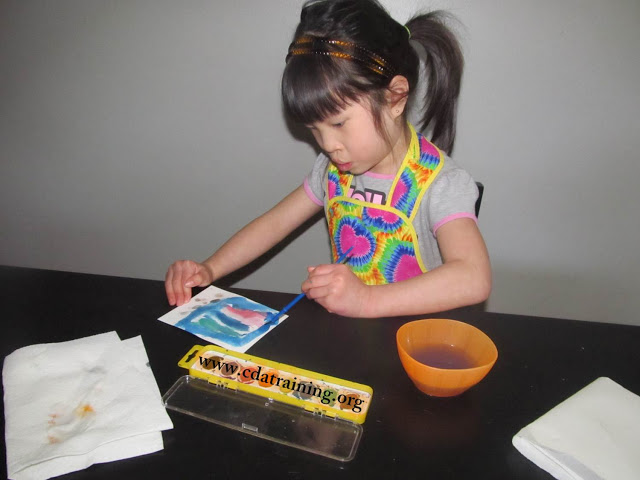
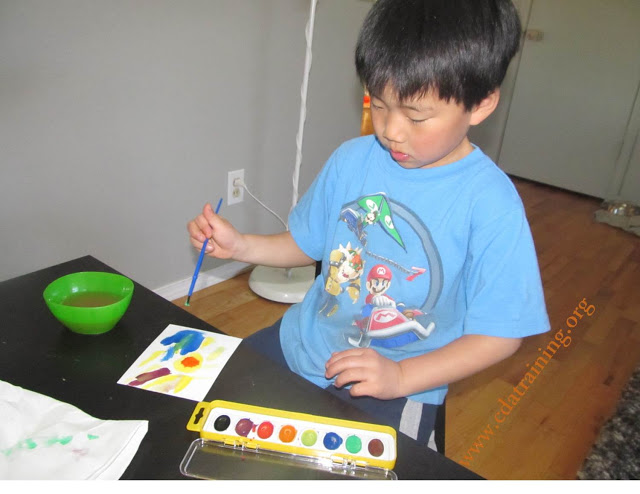
Here is what you will need: Paint, sponges, and paint brushes (markers are pictured, but we ended up not using them). 1. Use the paint brush to put paint onto the sponge. 2. Apply sponge to paper. 3. Get creative and try different techniques like, tapping your sponge on the paper, rolling it, and turning it while it is on the paper to see what different looks you will get.
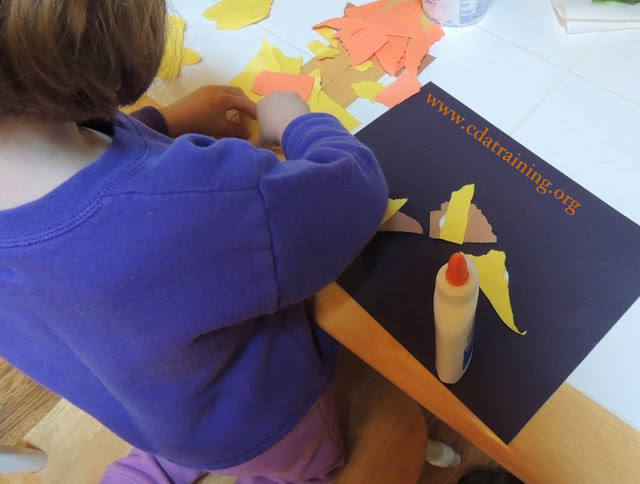
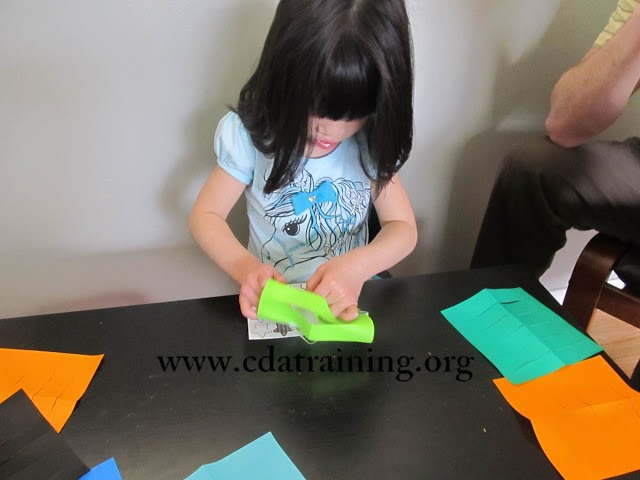
Tearing paper helps build fine motor skills. Specifically, it helps develop coordination and strength in the thumb and forefinger.
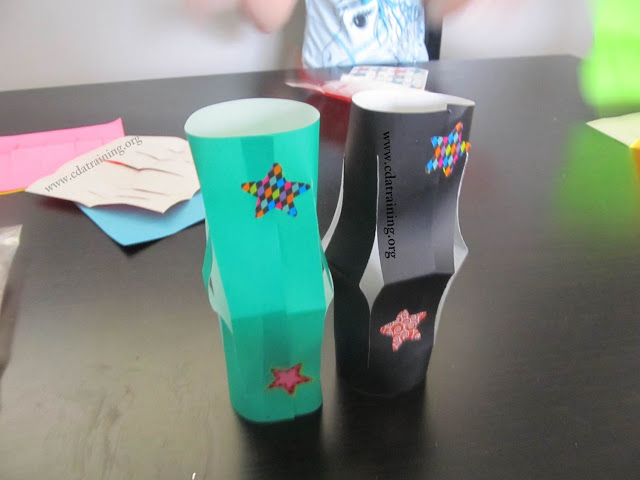
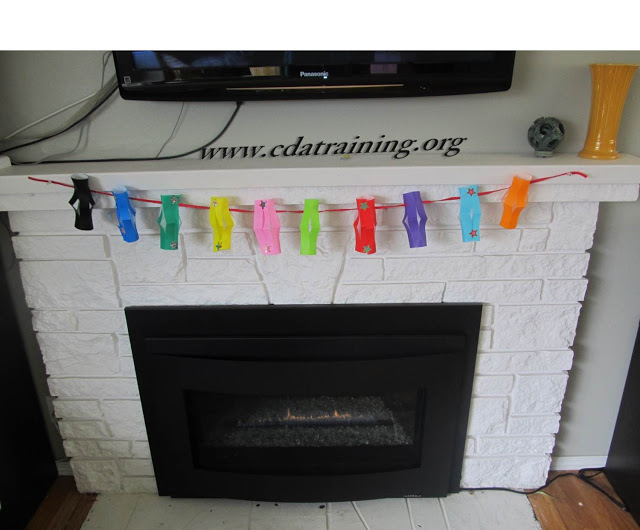
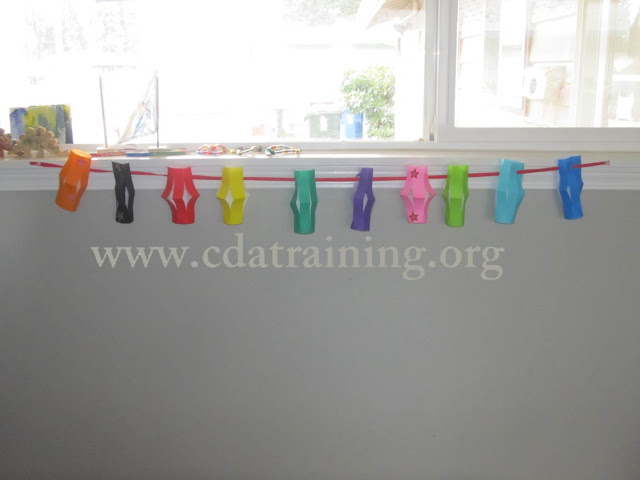
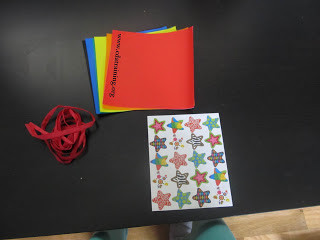
1. Fold the paper in half and make 5 or so cuts from the folded edge as shown. Do not cut all the way to the end. 2. Unfold the paper and roll it into a cylinder and use the stickers to hold it together. 3. Carefully string the twine through the slits in the lanterns. 4. Use the pushpins to hang your lantern string up. 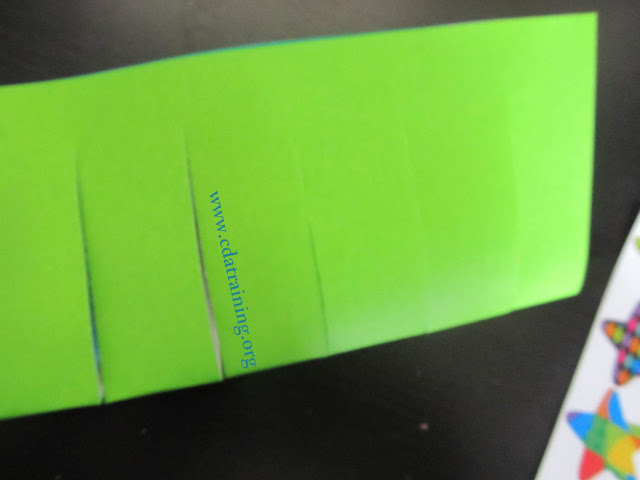


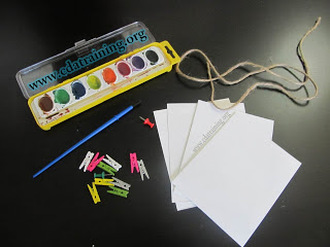
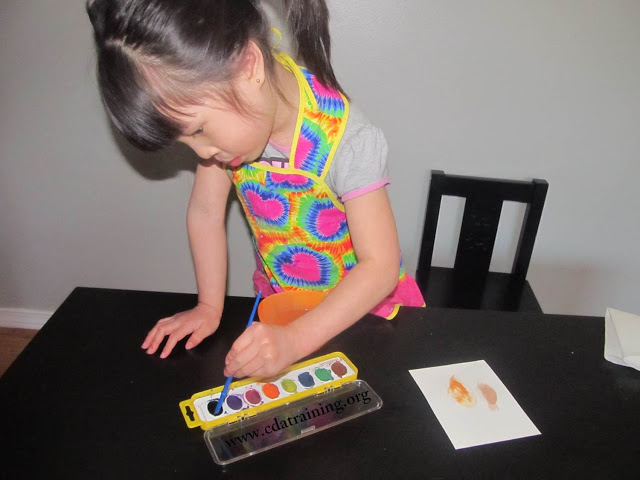
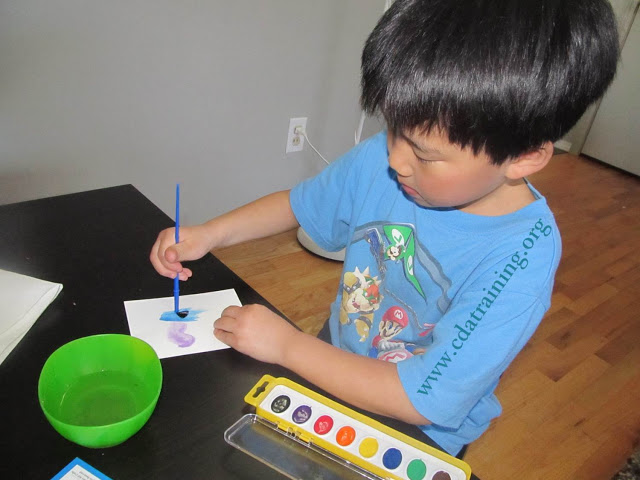
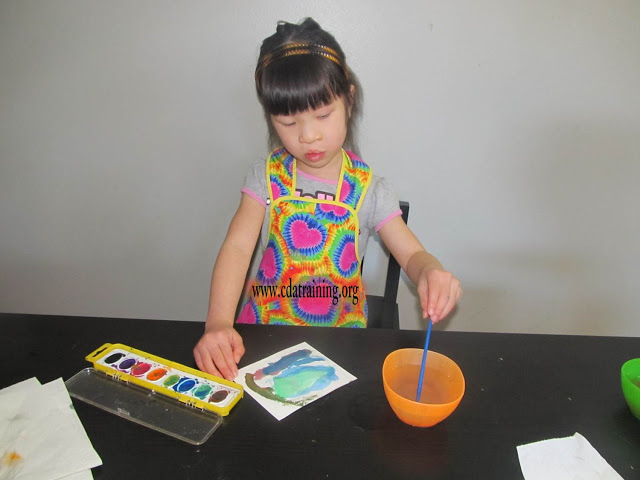
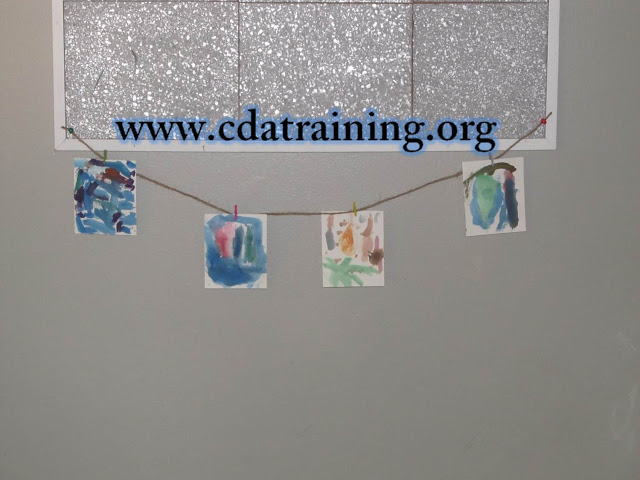
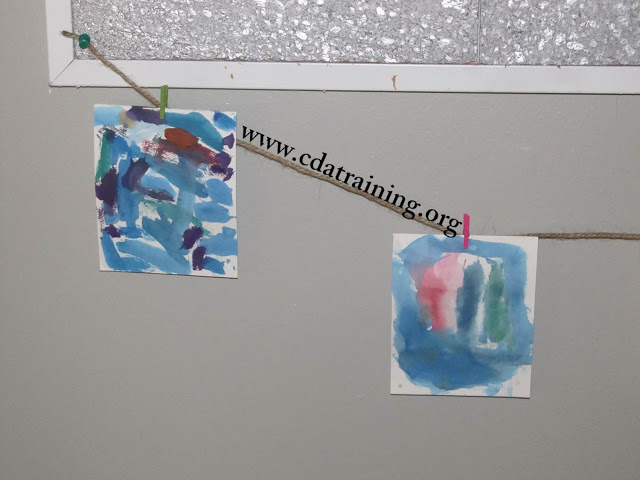
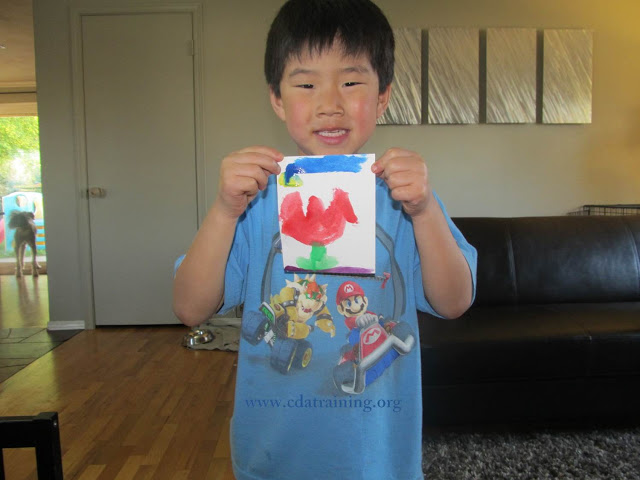
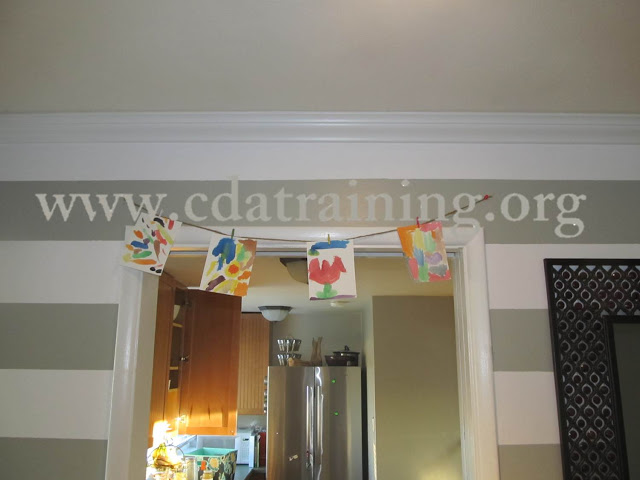
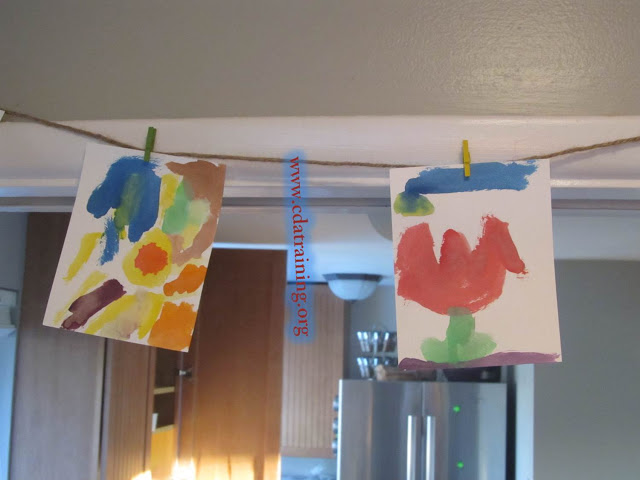
1. Have your child paint a beautiful picture on each of the 4 pieces of card stock paper (we tried to do a "Earth Day" theme with our paintings). 2. Let dry. 3. Use the push pins to attach the piece of twine to the wall. 4. Use the mini clothespins to attach each painting to the twine.

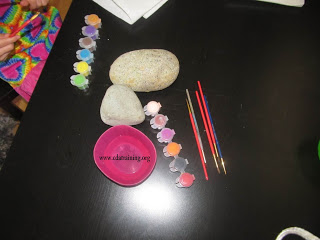
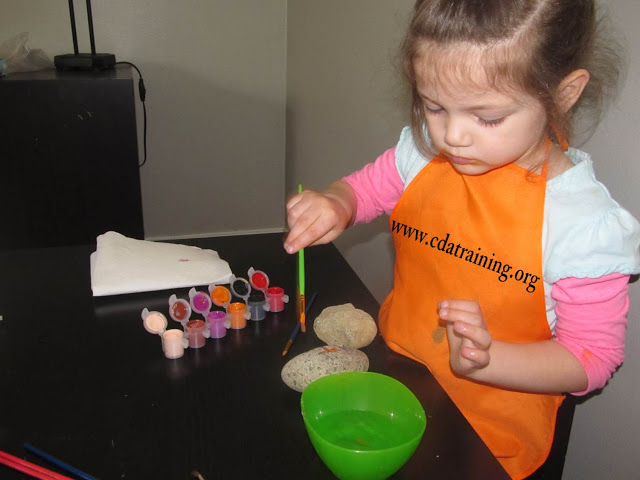
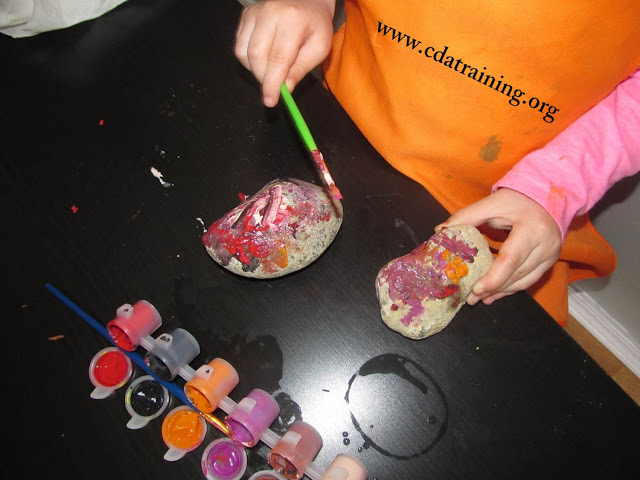
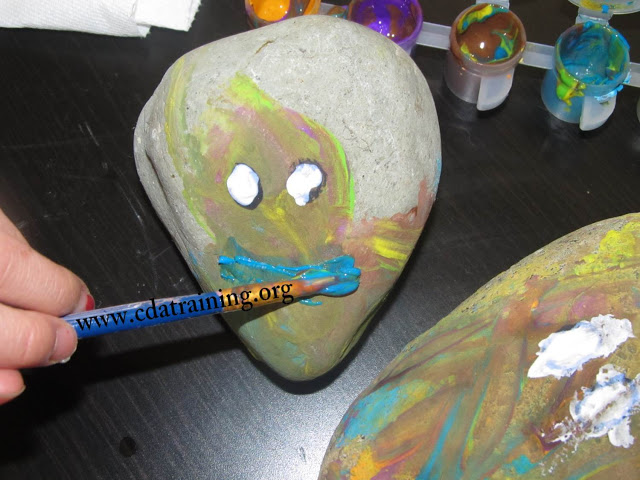
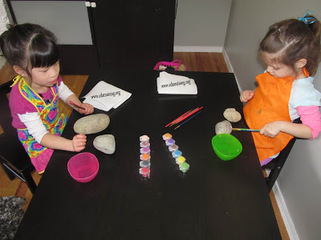
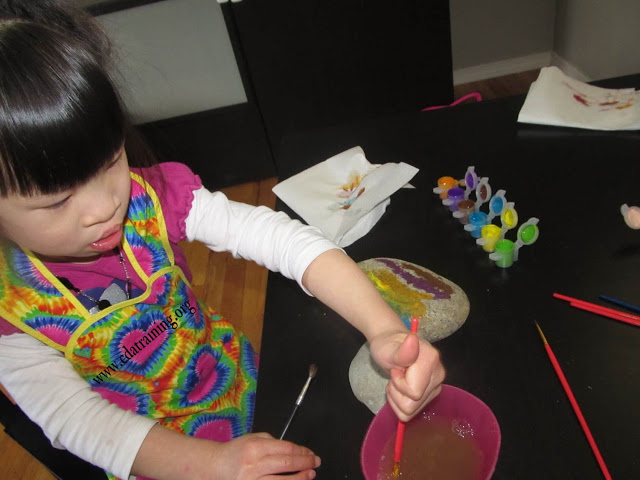
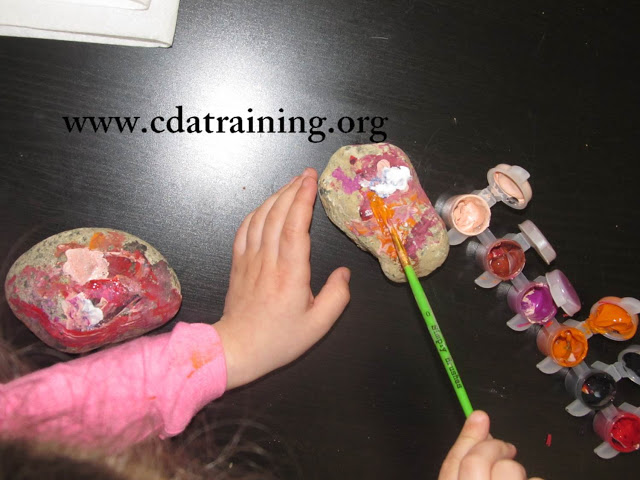
Here is what you will need: Paint, brushes, water (for cleaning off brushes) rocks, and googly eyes. 1. Paint your rocks in lots of fun colors. 2. Let dry, then glue on googly eyes. 3. If you want you can seal with Modge Podge so it will last longer outdoors.
|


 RSS Feed
We have provided links where books or educational items that are related to the lesson plan can be purchased on Amazon. These links are intended for the purpose of your convenience to find the referenced item. However, as an Amazon Associate we earn from qualifying purchases that result from clicking on the links.
This website is owned and managed by Successful Solutions Professional Development LLC. Links to online courses that can be purchased are services that are provided by Successful Solutions Training in Child Development, which is a subsidiary of Successful Solutions Professional Development LLC.
This website is owned and managed by Successful Solutions Professional Development LLC. Links to online courses that can be purchased are services that are provided by Successful Solutions Training in Child Development, which is a subsidiary of Successful Solutions Professional Development LLC.
We offer the most comprehensive student support available in a web based learning environment.
E-mail: info@myececlass.com
Phone: (360) 602-0960
Phone: (360) 602-0960
123 Play-and-Learn! Child Care Basics Resources
A child care curriculum blog brought to you by Successful Solutions Training in Child Development.
A child care curriculum blog brought to you by Successful Solutions Training in Child Development.
Address: PO Box 727, Burley, WA 98322-0727 * www.123playandlearn.com
Copyright 2018. Successful Solutions Professional Development LLC. * All Rights Reserved. Updated June 27, 2018
Copyright 2018. Successful Solutions Professional Development LLC. * All Rights Reserved. Updated June 27, 2018
Child Care Courses